
Be sure to plug the USB directly into the computer. The Cash Drawer will not work if plugged into the POS printer.
SUPPORT: Log into Rescue as applet
The APG Cash Drawer set-up requires three files attached below, be sure to download all three.
IMPORTANT: If you have already installed the Epson TM-T88V thermal Receipt Printer, you do not need to perform the EverLogicDMS.exe.config or MSPOS for .Net v1.12 procedures. If you have not yet installed the Epson Printer, see directions at the bottom of this article.
Download and Install the APG Cash Drawer SDK
REMINDER: Be sure to plug the USB directly into the computer. The Cash Drawer will not work if plugged into the POS printer.
1. Locate the APG Cash Drawer compressed file and extract the file in the same manner as the Microsoft POS for .NET install

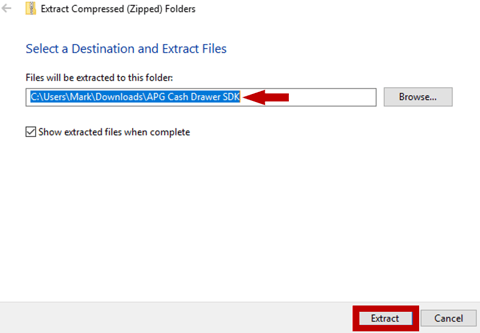
2. Right-click on the file and select Extract All

3. Make note of the path to the destination folder, then click Extract
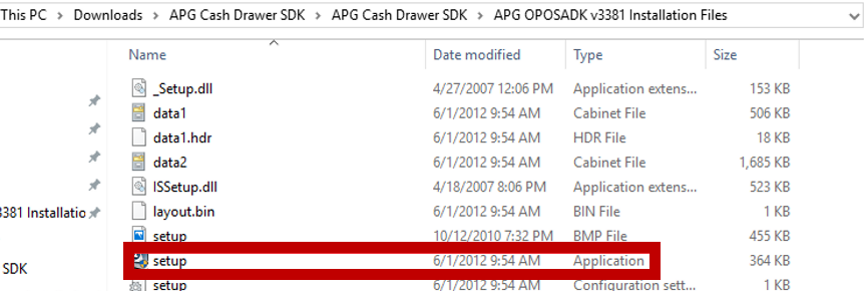
4. Double-click on the APG Cash Drawer SDK folder
NOTE: At this point, the option exists to review the instructions, contained in the reference documentation folder.
5. Open the APG OPOSADK v3381 installation Files folder to continue with the setup of the cash drawer.

6. Double-click the setup application file to begin the installation (The UAC warning will appear.)
7. Click Yes
NOTE: The Company Logo will appear for a brief time and will be followed by an automatic process.

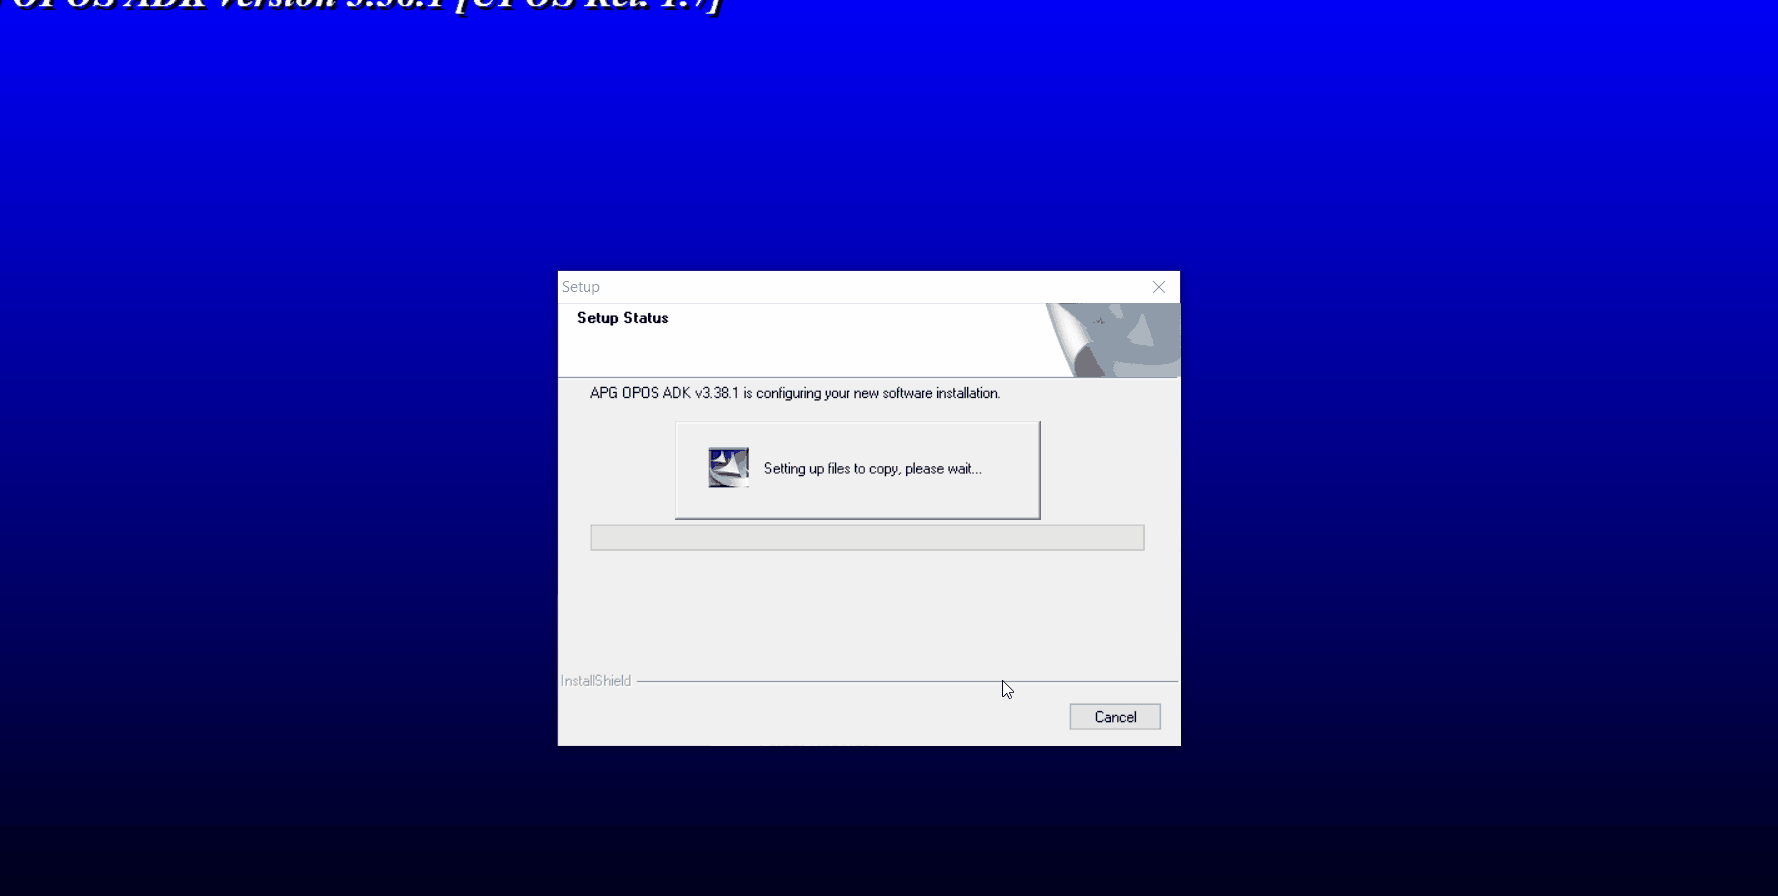
8. Allow the automatic process to complete
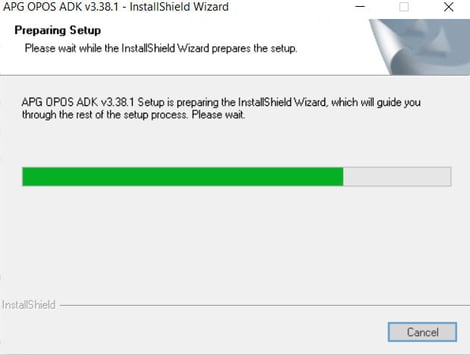
NOTE: The screen will turn blue as the install program runs.
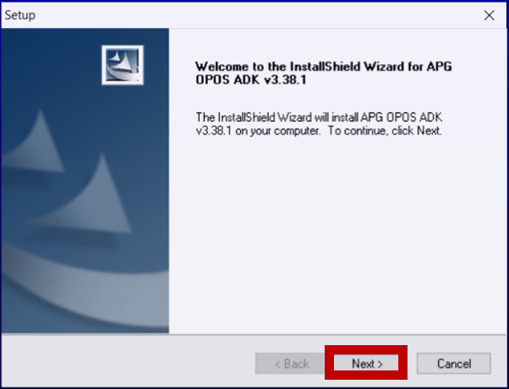
9. Click Next
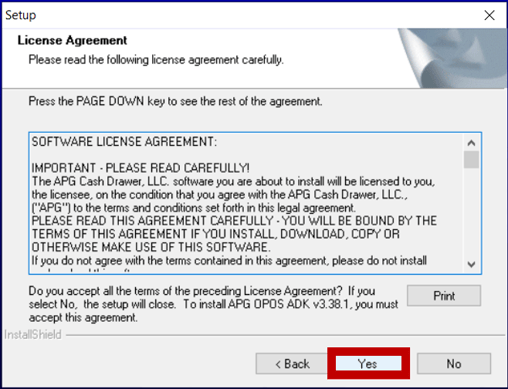
10. Read the license terms and click Yes
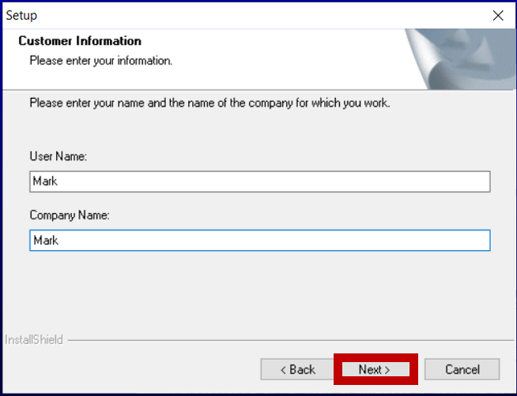
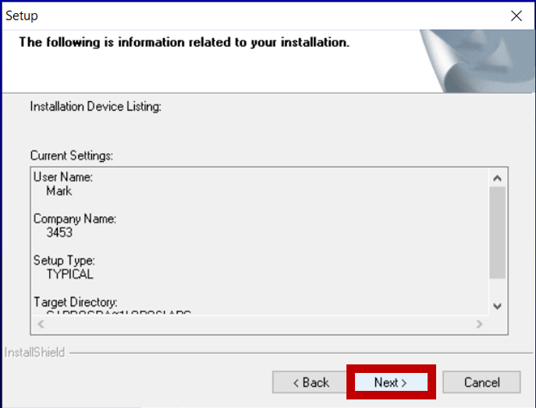
11. Key User Name and Company Name, then click Next
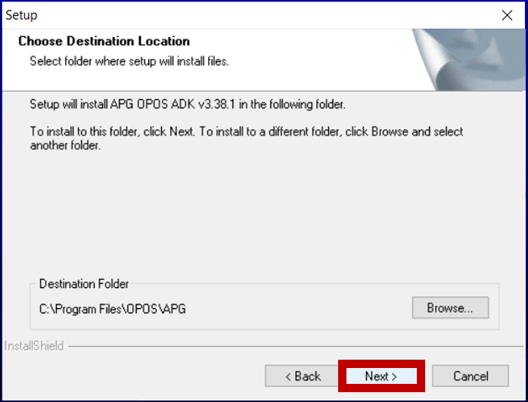
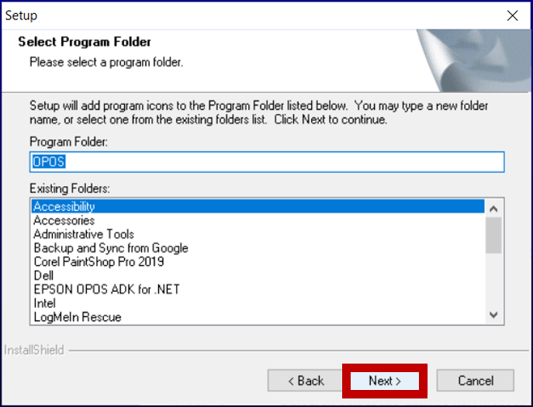
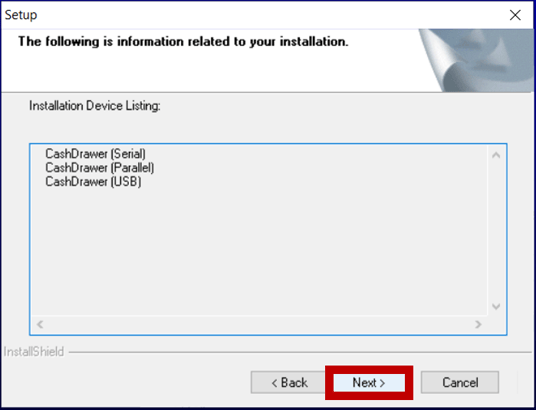
12. Continue to click Next through the following screens
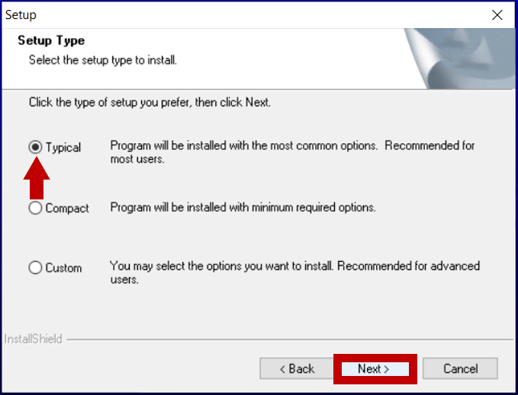
13. Select Typical, then click Next
14. Continue selecting Next through the following screens
NOTE: At this point, the automation installation will run.
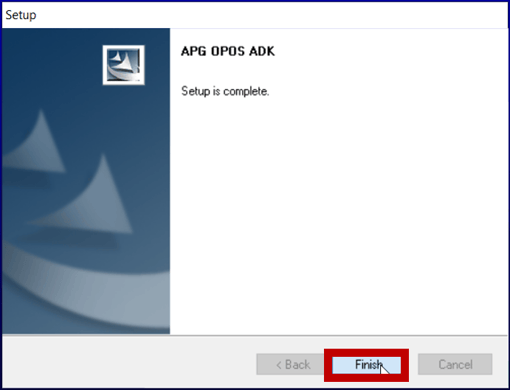
15. Click Finish
Cash Drawer Installation (Once the cash drawer installation is complete.)
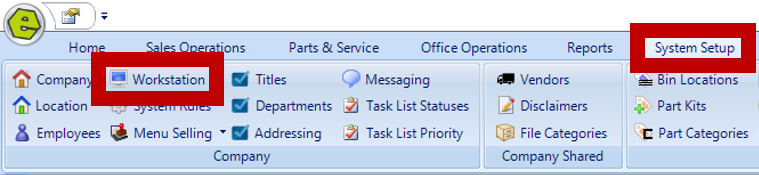
1. Navigate to the System Setup Tab and select Workstation
2. Click This Workstation

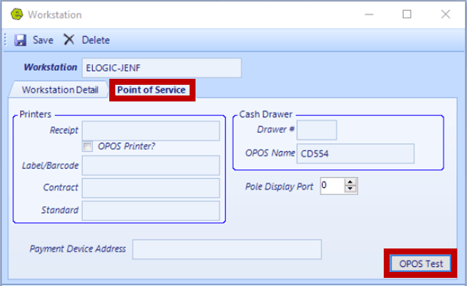
3. Access the Point of Service Tab
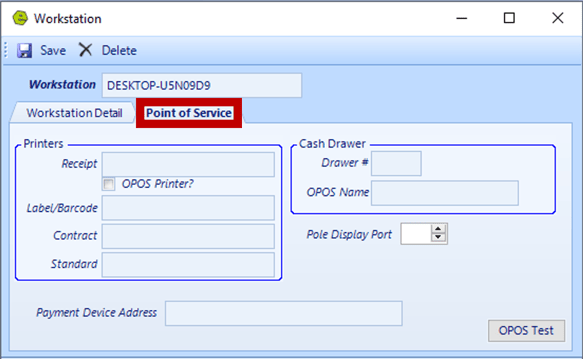
4. Key Drawer # and CD554 as the OPOS Name
5. Save

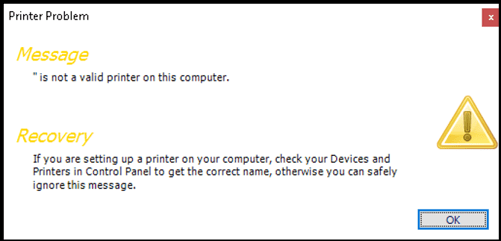
NOTE: Click OK, when you get this pop-up message.
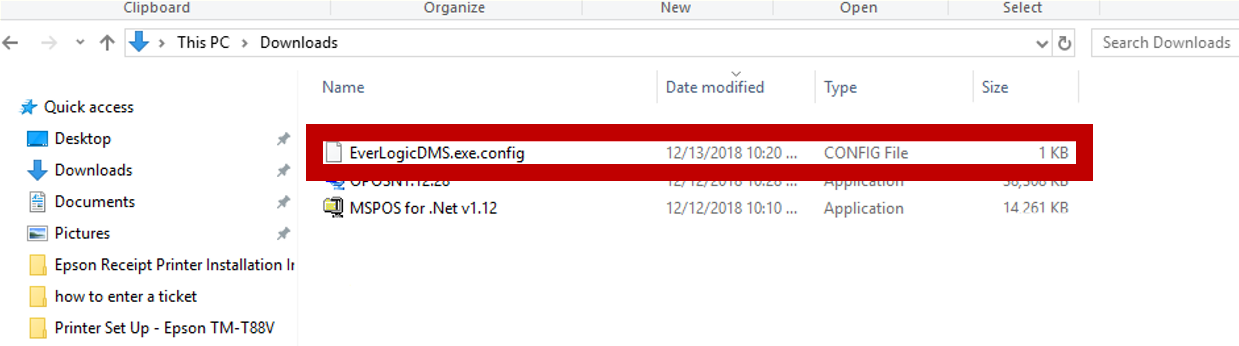
EverLogicDMS.exe.config file
1. Download and copy the EverLogicDMS.exe.config file
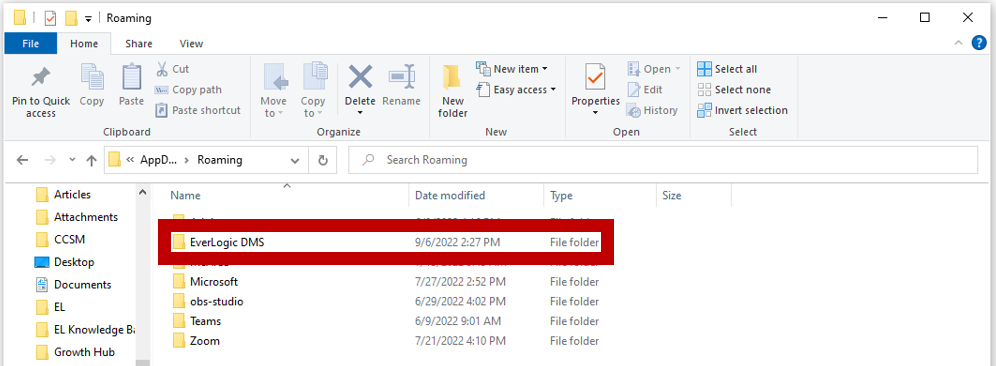
NOTE: You can find this folder the using %appdata% command in Windows File Explorer.

2. Right-click and copy this file into the EverLogic DMS Folder on %appdata%
MSPOS for .Net
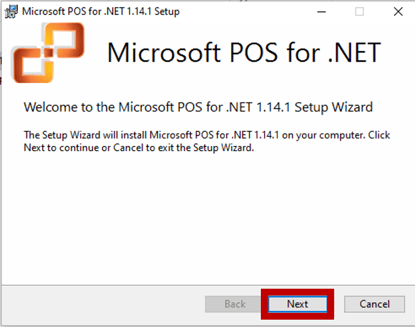
1. Open Downloads Folder and locate the POSForDotNet-1.14.1 file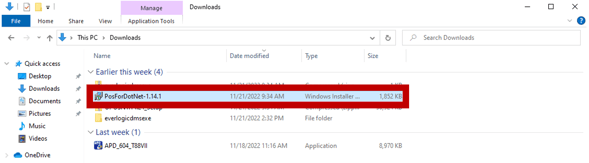 2. Double-click on the file to run it
3. Click Next
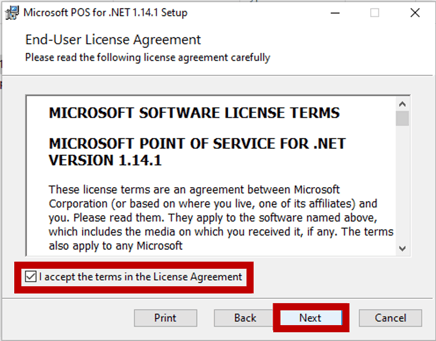
4. Click the checkbox to and the License Terms, then click Next.
5. Click No Thanks, then Next 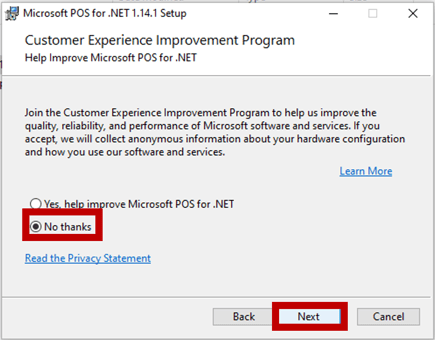
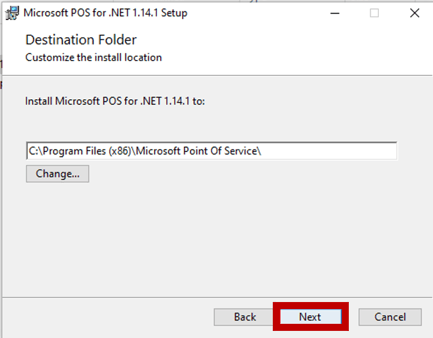
6. Click Next
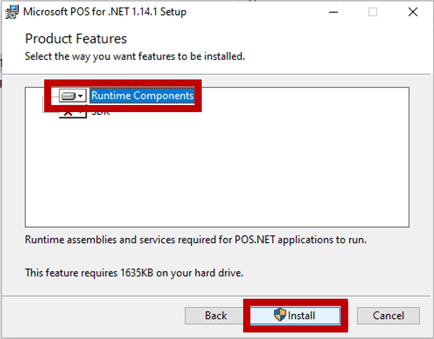
7. Make Sure Runtime Components is selected, then click Next.
8. Click Yes

9. Click Finish, after the Installation is complete, close all programs and reboot the computer

Test Cash Drawer Connection
1. Navigate to the System Setup Tab and select Workstation

2. Click This Workstation

3. Access the Point of Service Tab
4. Click OPOS Test Button
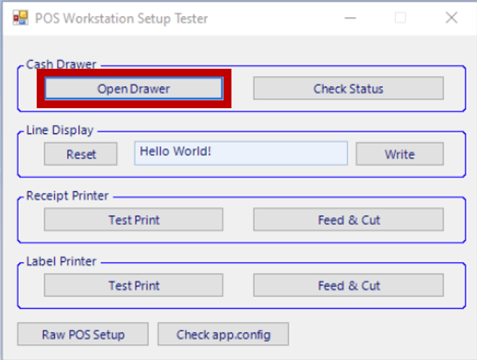
5. Click Open Drawer
Related Articles: