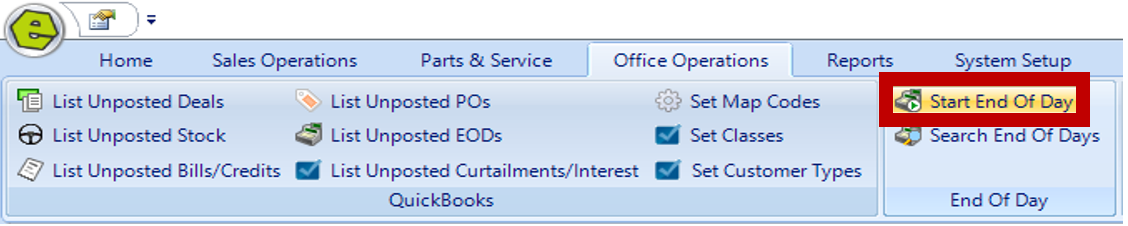
- Navigate to the Office Operations Tab
- Click Start End of Day
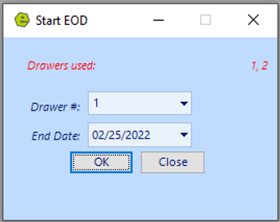
- Select the drawer number you wish to process, indicate the End Date of transactions to include in this batch and click OK. (Drawers used show in RED.)
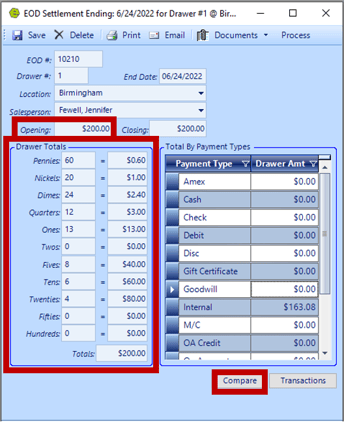
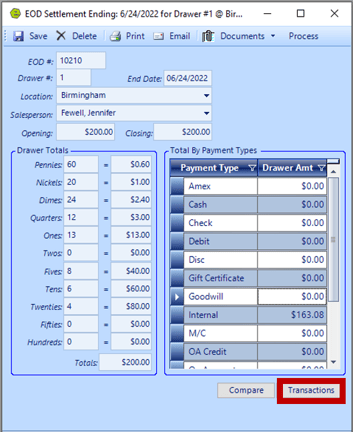
- Key the amount of cash you had in the drawer at the start of day in the Opening Field, if you do not start the day with cash in the drawer, leave at $0
- Key the Drawer Totals for each denomination
- Click Compare to see what the system says you processed
 RESULT: Anything in red does not match, the goal is to have no red items. Remember, EverLogic does not count payments until the Invoices and / or Repair Orders are closed. Deposits are accounted every day, whether or not Invoices and / or Repair Orders are closed. This may be the reason some are showing an overage here.
REMINDER: Do not manually adjust these numbers to make it match, without locating and reconciling amounts.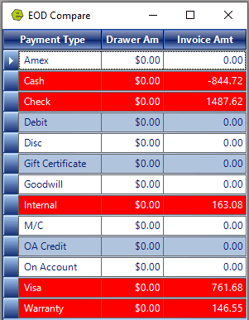
- Close the Compare Window and click the Transactions Button, to go through and confirm transactions
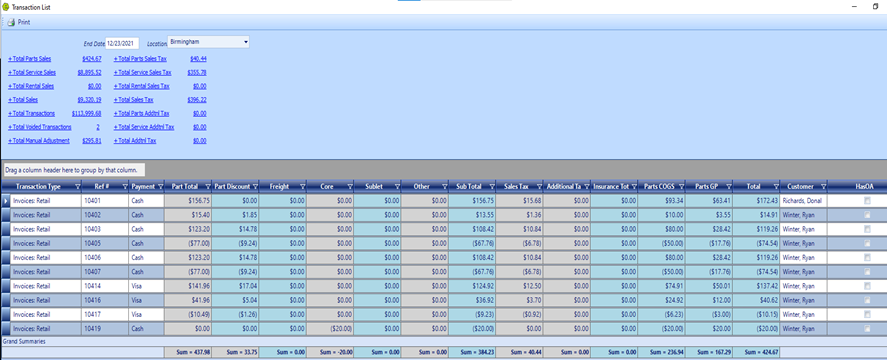
RESULT: These transactions show everything that was closed in Parts, Service and Sales, each day. Click on the link to see the specifics for these different types of transactions. To find an overage, scroll to the right to find the Customer’s name then search for that Customer to discover any open tickets that need to be closed. Once those open items have been closed, you will need to keep those receipts until the following day to count them in the next EOD.
-
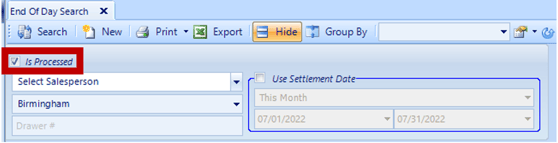
To find a shortage, go back to Office Operations and Search End of Days
 REMINDER: You will see any items that have been processed, so you will need to de-select the “Is Processed” Button and search again.
Go back to the Transactions, locate the missing item and contact the person / department, in question, to help locate the ticket.
Or, you can print the EOD Transactions Summary, and go through the items listed. It will list the Cash Count you entered and the Drawer amounts. The System amounts are those that EverLogic shows you took. These will show in red, since there is an overage / shortage. On the right, there is a breakdown of Parts, Service and Sales Totals for the day, including Shop Fees and Sub-contracted Work Amounts.
- Click Process, once the amounts in the Drawer Amount and the Invoice Amount Columns match,

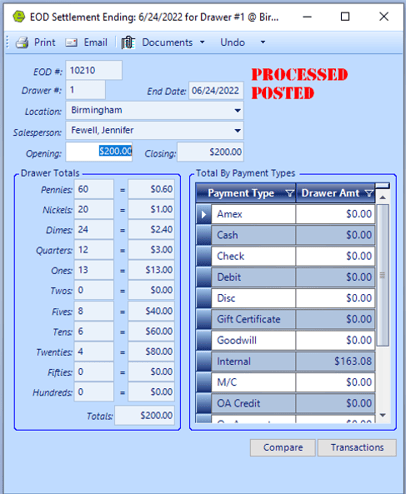
RESULT: The EOD Form will now show "PROCESSED", in bold red letters.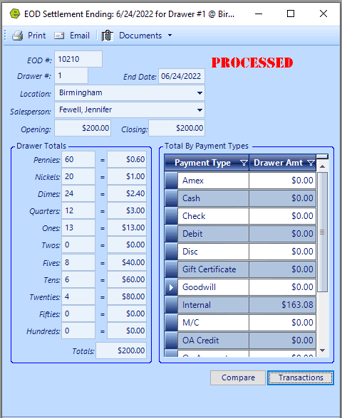
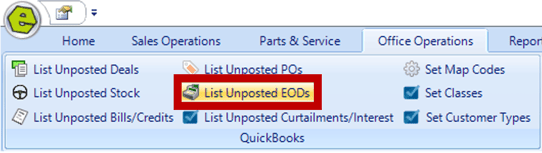
- Navigate to Office Operations and click Unposted EODs
-
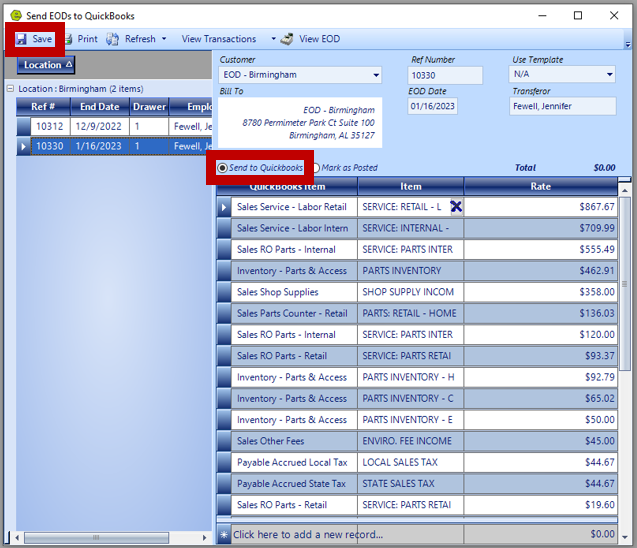
Double-click to see the EOD display on the right side and ensure all items show correctly, then click Save to send to QuickBooks
NOTE: QuickBooks does not allow a zero or negative day, “Mark as Posted”, if you have a zero day or if you manually post the EOD to QuickBooks.
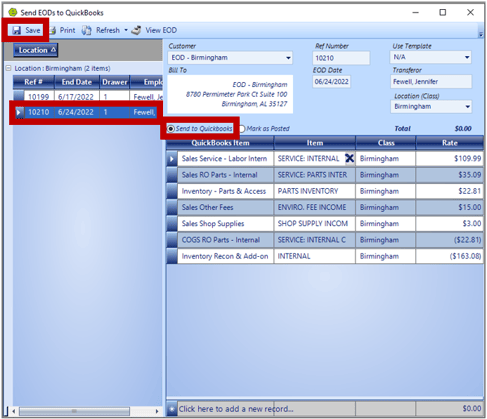
NOTE: View Transactions may show in orange, if there are open On-Accounts, Warranties, and Transactions with Deposits for you to view. If Transactions do not show in orange, then there are none to view and you can Save and send to QuickBooks.
NOTE: If another window appears, this indicates you have deposits that need to be sent to QuickBooks. EverLogic does not send over individual Invoices or Repair Orders, like we do Deals. We send over the total dollar amounts for checks, cash, credit card amounts, unless this was a deposit on an Invoice or Repair Order. In that case, it will be sent to QuickBooks and will remain there as a credit, until the Invoice or Repair Order is closed. Click Receive Payments and it will be created in QuickBooks.


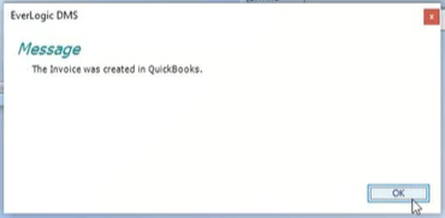
RESULT: You should receive a pop-up message indicating "The Invoice was created in QuickBooks".
RESULT: The EOD Form will now show "Processed" and "Posted", in bold red letters.
12. Navigate to the Office Operations Tab and select List Unposted EODs

13. Locate EOD to be posted on the left side
14. Double-click to display information on the right side

15. Click View Transactions and select View Part Transactions, if the button flashes orange

RESULT: The Part Adjustment(s) to be sent to QuickBooks Window will display.

16. Check Send to QuickBooks
17. Save
IMPORTANT: ONLY select "Mark as Posted", if manually posting in QuickBooks.
18. Click Receive Deposits Button

19. Click OK, when you receive the message below, "The Invoice was created in QuickBooks"

Related Article: Unpost / Unprocess an End of Day (EOD)