
Installing a receipt printer from the Epson TM-T88 series. We will be using the Epson TM-T88V as our example, but you may use other models, such as the TM-T88VI or TM-T88VII. There will be some extra steps if you use the TM-T88VII.
REMINDER: Make sure you are installing the software on the computer connected to the printer.
NOTE: If you have installed the APF Cash Drawer, skip to the Epson software install, MSPOS and EverLogic config installations are the same.
DOWNLOADING RESOURCES
Download both files (Setting up the Epson printer requires two files, download and both. Be sure to select the correct installer for the model being installed, during Installation Part 3.
Installation Part 1 - Microsoft POS for .NET
1. Open Downloads Folder and locate the POSForDotNet-1.14.1 file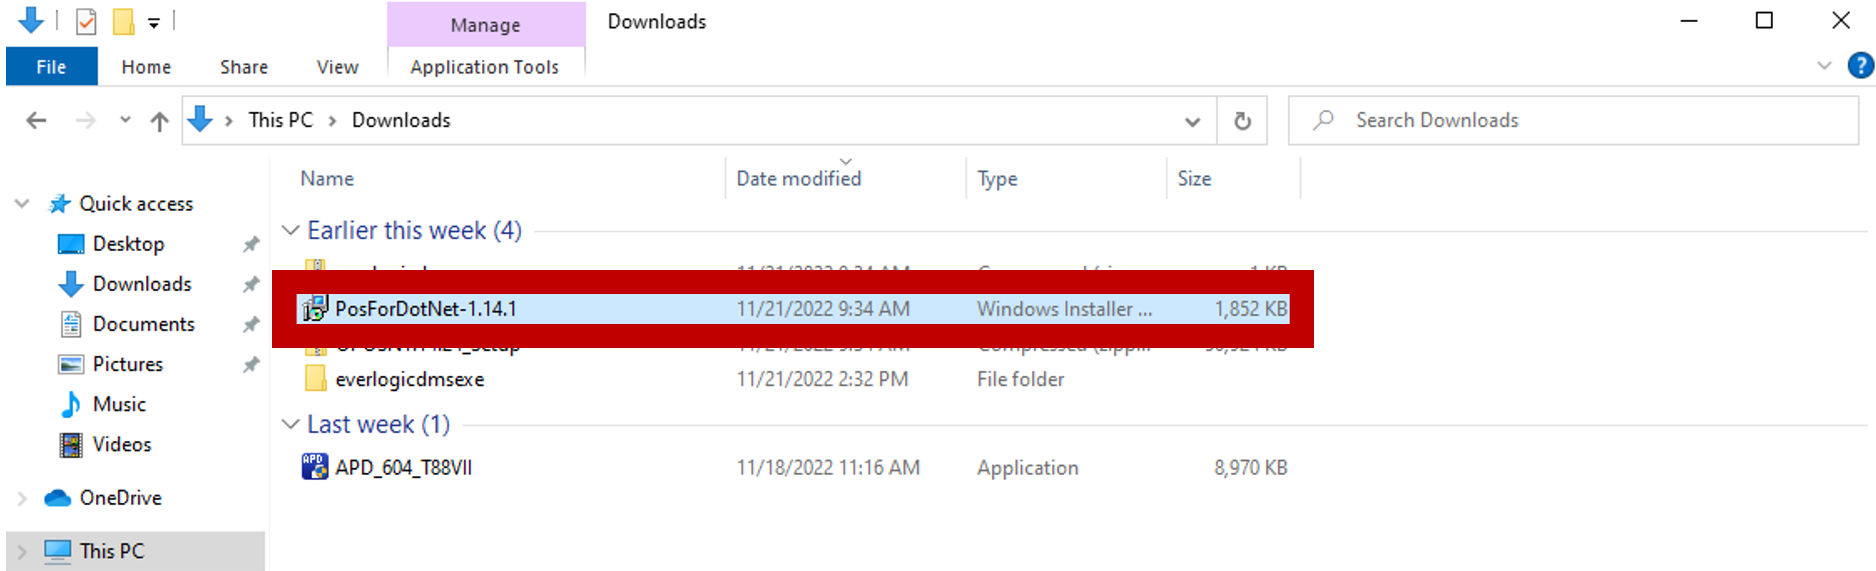 2. Double-click on the file to run it
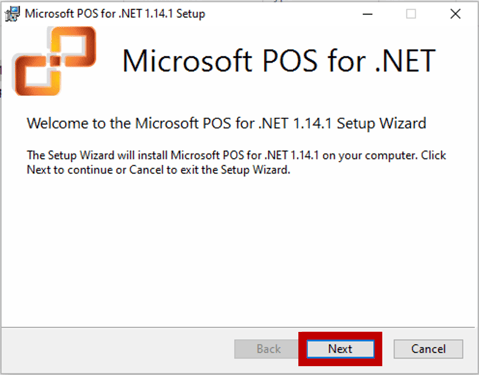
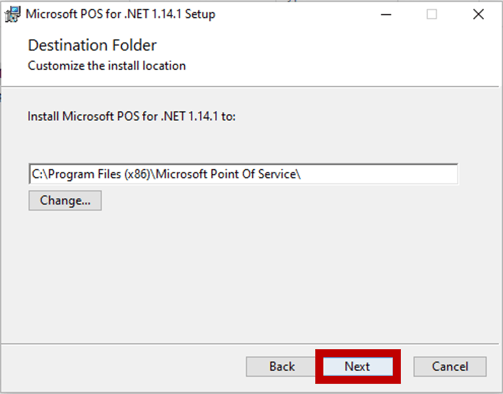
3. Click Next
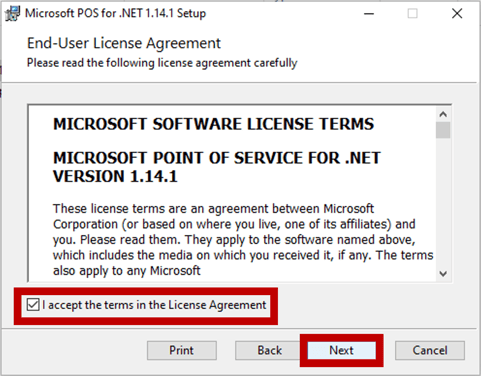
4. Click the checkbox to and the License Terms, then click Next
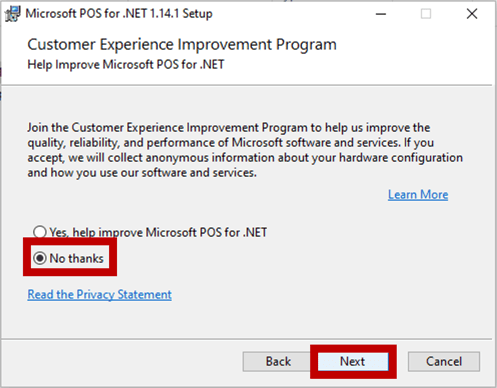
5. Select No Thanks, then click Next
6. Click Next
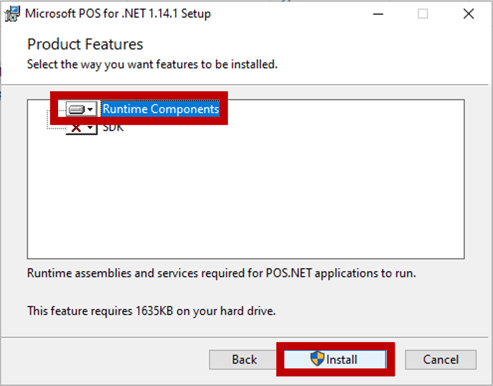
7. Make Sure Runtime Components is selected, then click Next
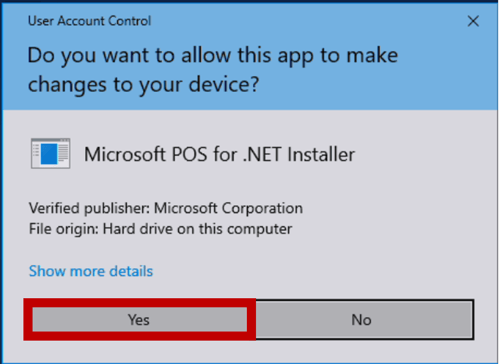
8. Click Yes
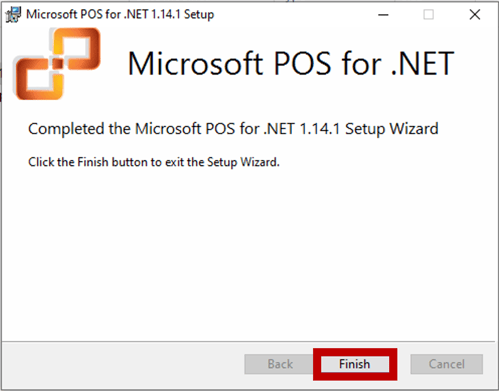
9. Click Finish, after the Installation is complete, close all programs and reboot the computer
Installation Part 2 - OPOSN Setup
1. Locate the OPOSN1.14.24_Setup.zip file and Extract All


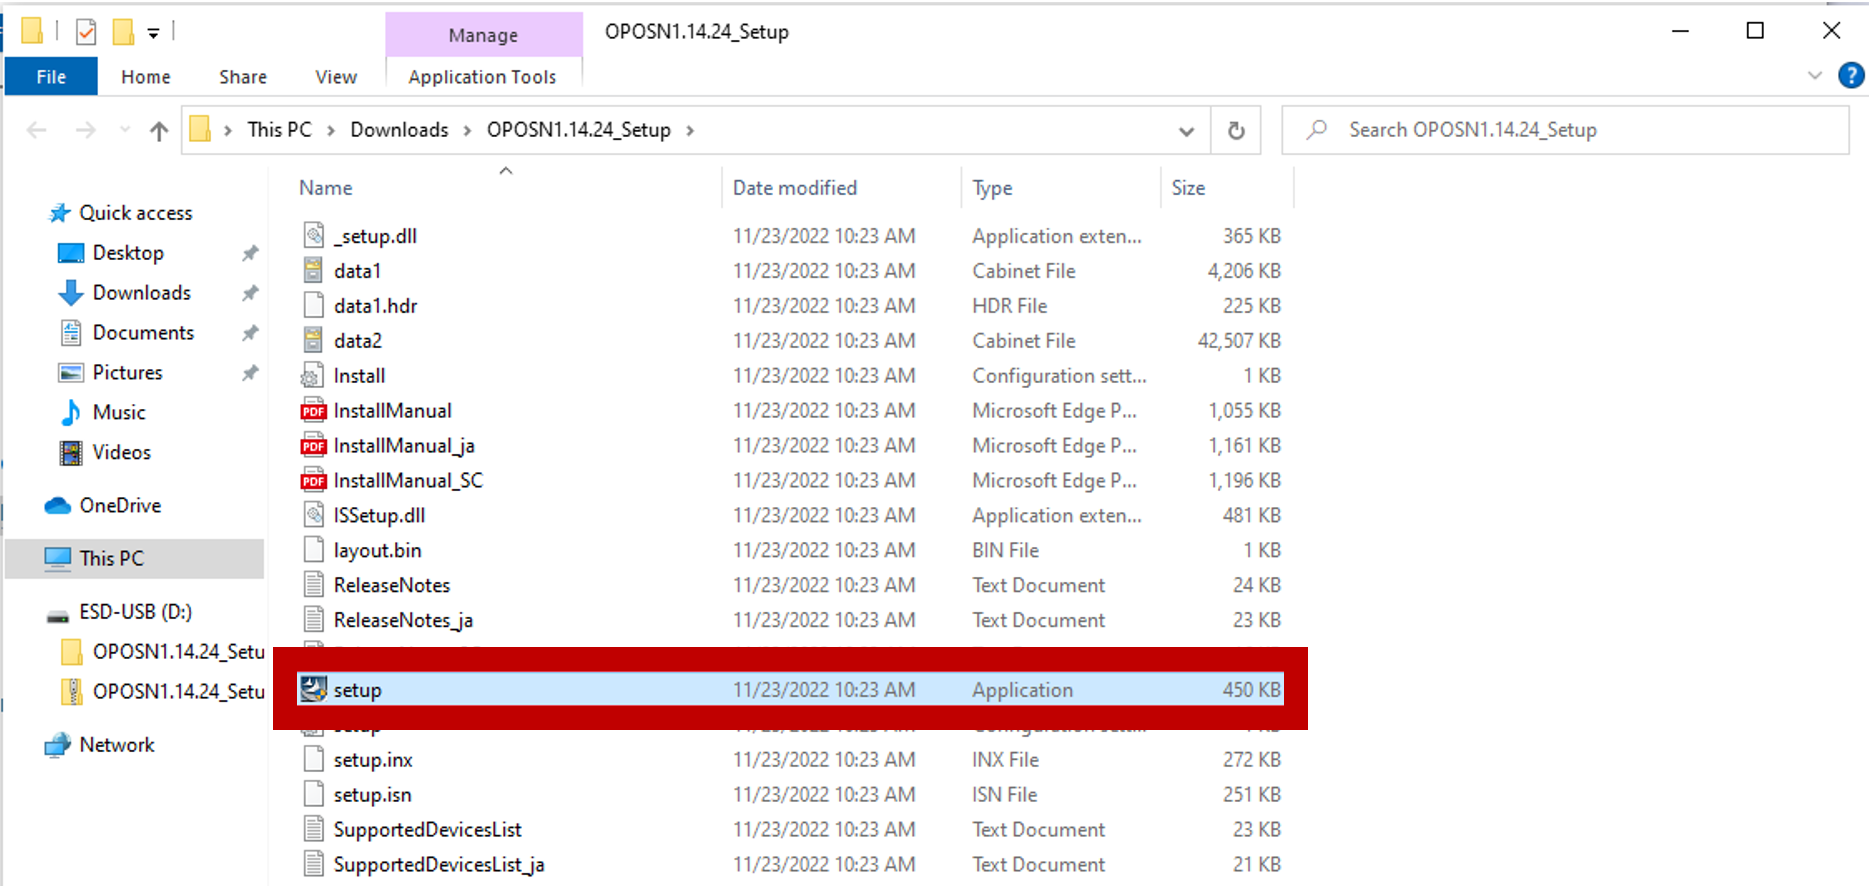
2. Locate the Unzipped folder, and double-click Setup to run the file
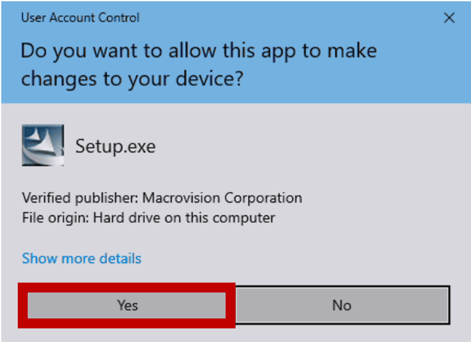
3. Click Yes
4. Confirm English is selected, then click Next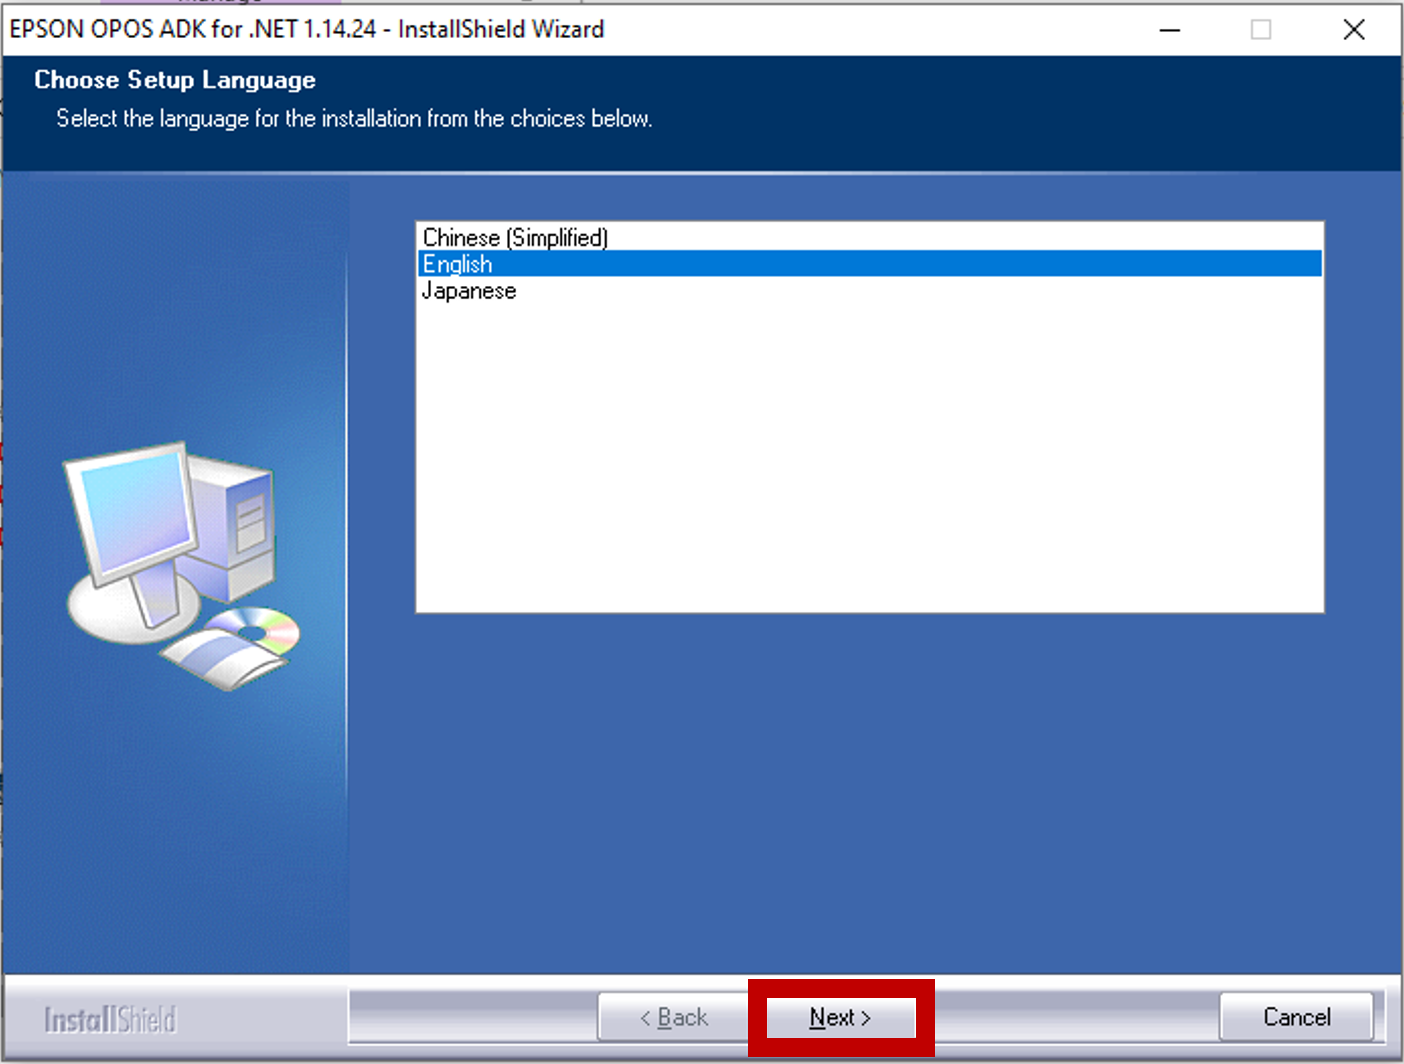
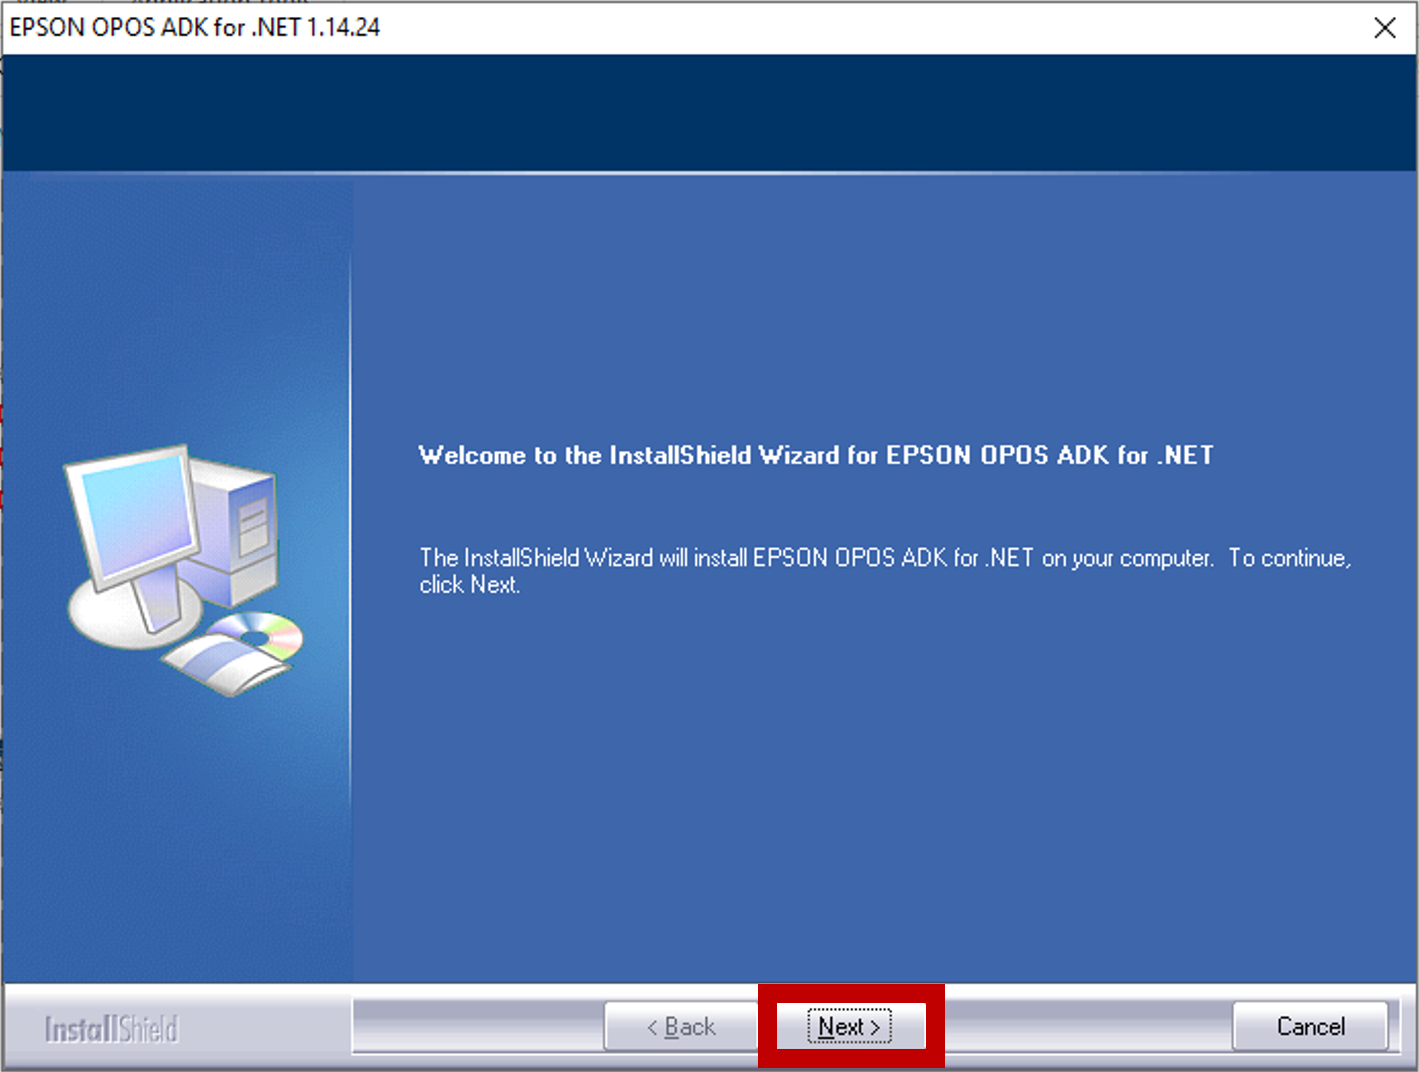
5. Allow some setup to run, then click Next
6. Click to Accept the License Agreement, then click Next
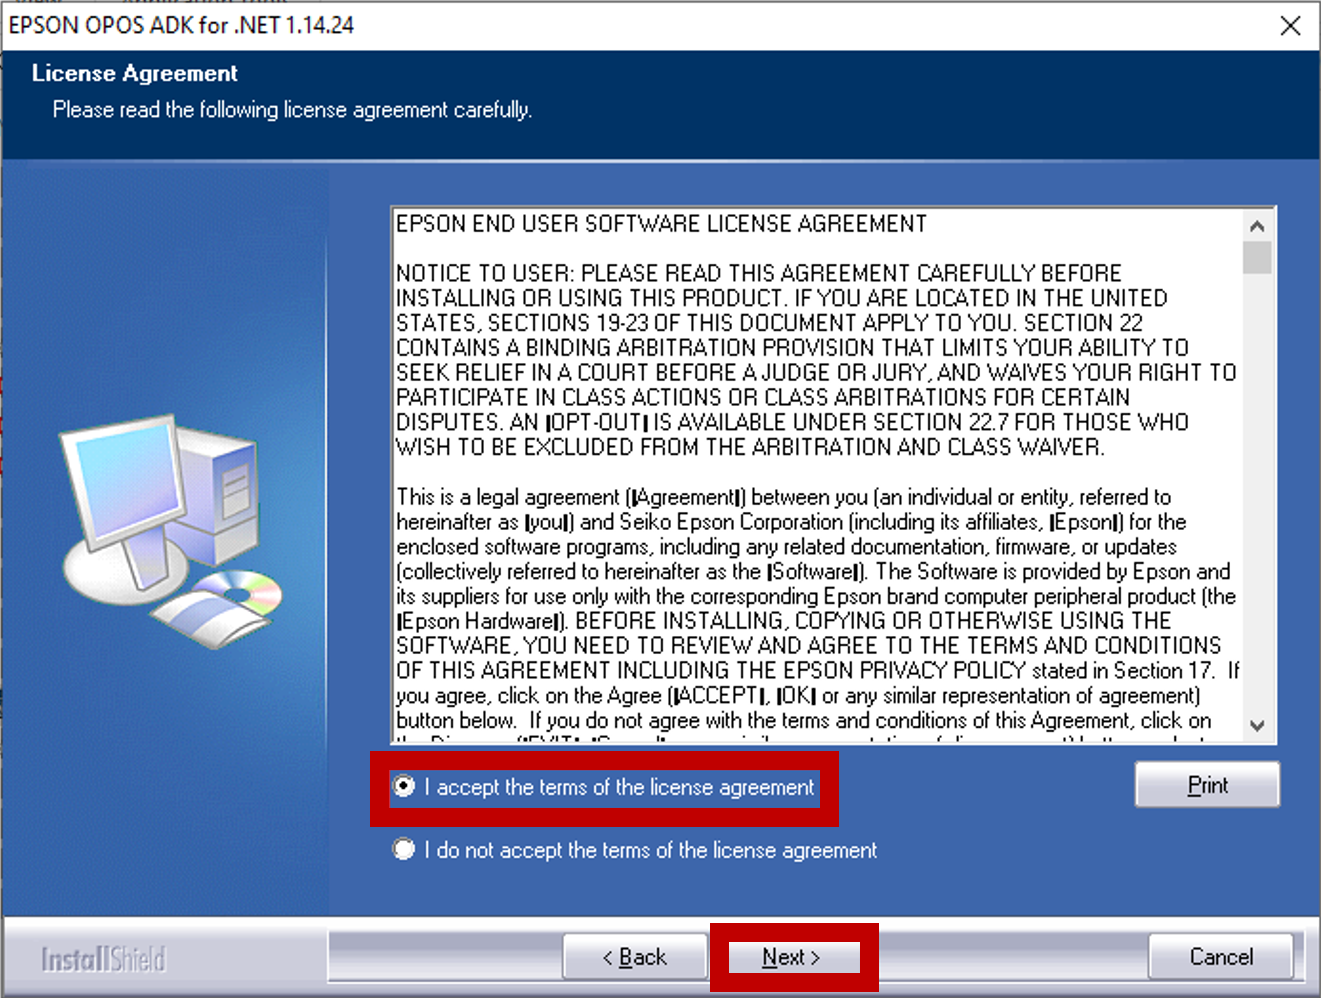
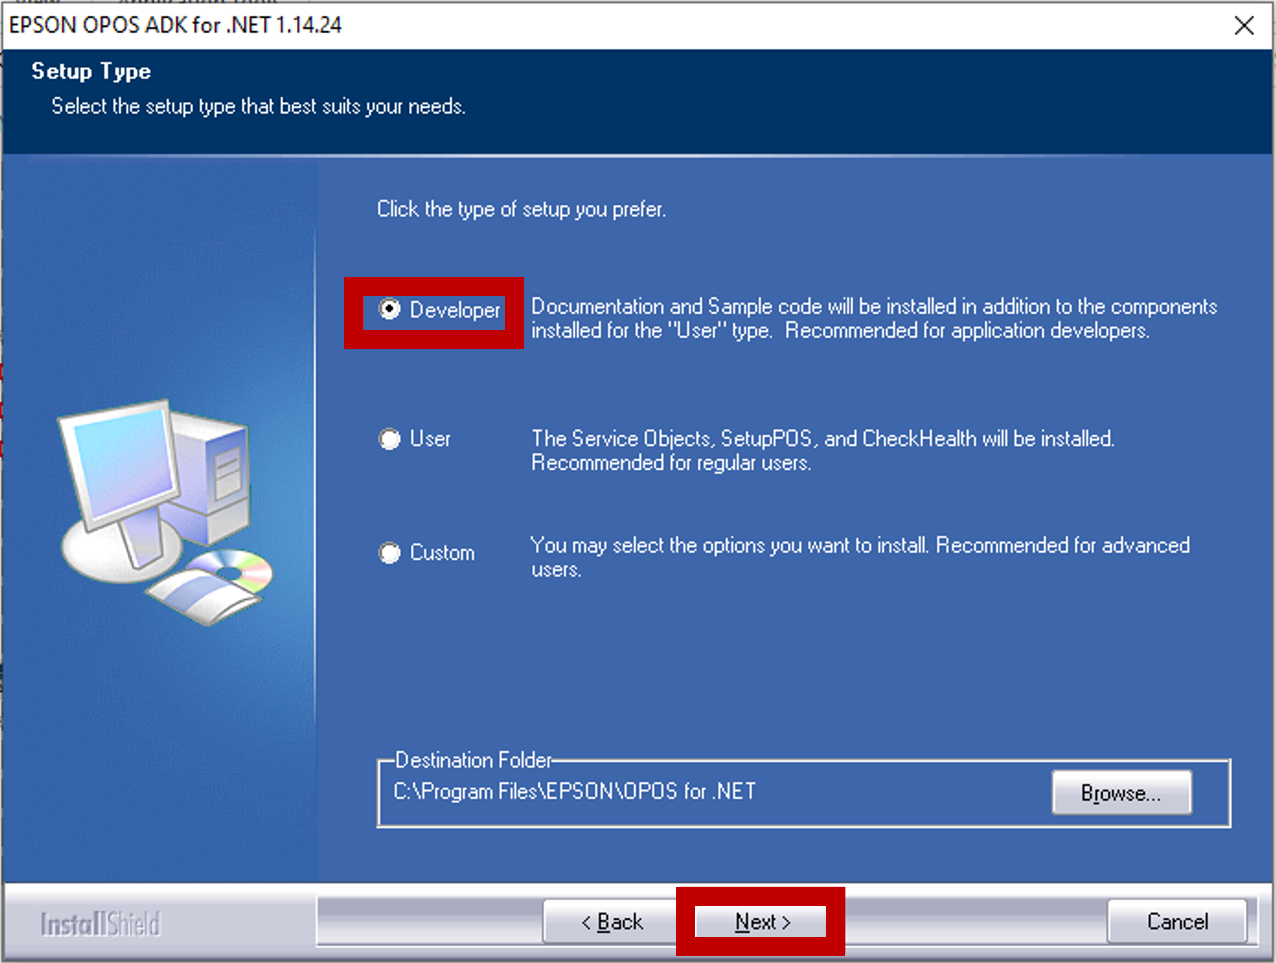
7. Select Developer, then click Next
8. Check the box by USB and make sure Serial is unchecked, then click Next

9. Click Next

10. Allow the software to Install, this may take a moment

11. Click Finish

NOTE: It is recommended to restart the computer
Part 3 - Driver Installation
IMPORTANT: Follow the path for the printer version you have.
Epson TM-T88V
Download the installer and install - Epson TM-T88V
Epson TM-T88VI
Download the installer and install - Epson TM-T88VI
Epson TM-T88VII
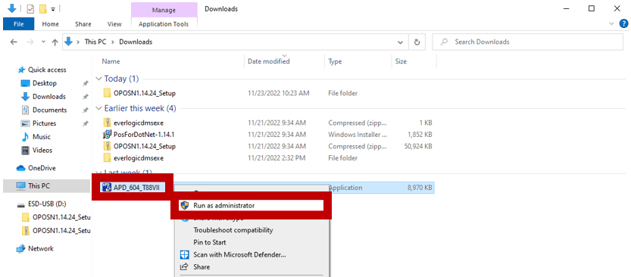
1. Download the APD_604_T88VII.exe file
2. Locate the APD_604_T88VII.exe file, and Run as Administrator
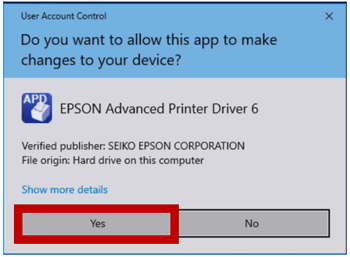
3. Click Yes
4. Allow the driver to unpack, then click Next
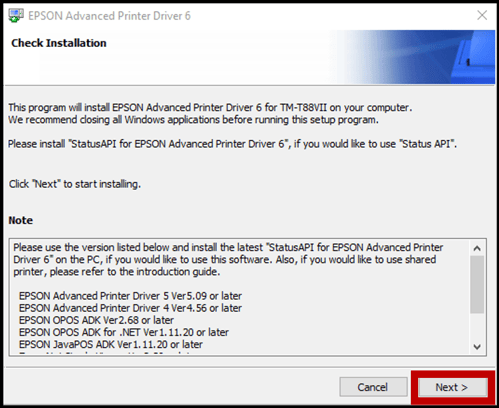
5. Click Agree, then Install

6. Allow the driver to Install, this may take a moment
-png.png)
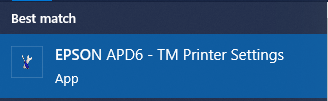
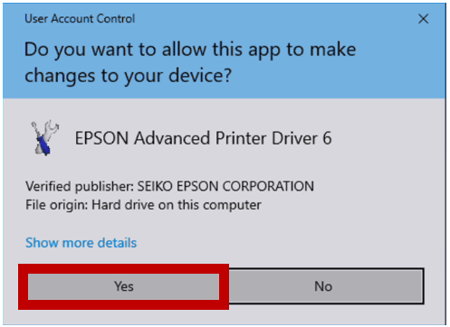
7. Epson TM printer settings should open up automatically after installation, if it does not, search for EPSON APD6 - TM PRINTER SETTINGS. You may have to click Yes when prompted
8. Ensure that the settings match the image below,
-
- Select Port Type USB
- Checkmark "Set as Default Printer"
- Click Save Settings

RESULT: The Printer Name, Model and Port will display at the top.
-
- Close and restart the computer

Part 4 - Run the Epson POS for .NET
NOTE: We will be using the TM-T88V in our examples below. The other models in the TM-T88 series will work as well, just make sure to select the correct name when appropriate.
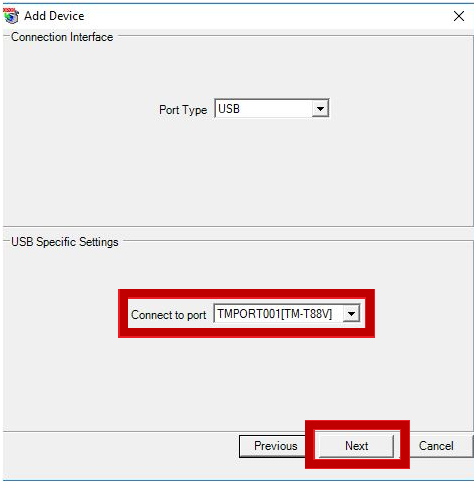
For example, the Connect to port option in step 5 below should say TMPORT001[TM-T88V]TM-T88V with a TM-T88V, but should say TMPORT001[TM-T88VII]TM-T88VII with a TM-T88VII.
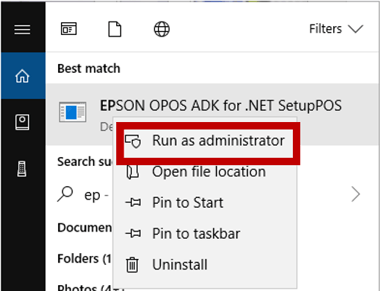
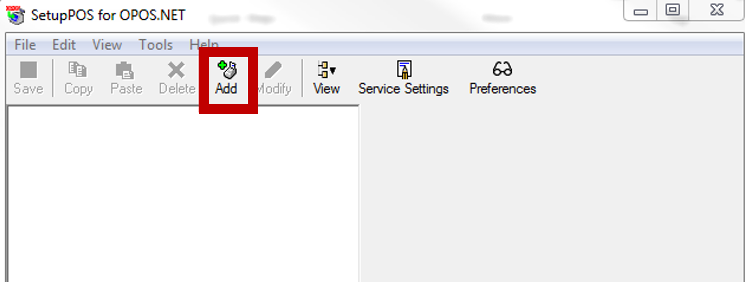
1. Open the Start Menu in the bottom left corner of your screen

2. Locate the Epson OPOS ADK for .NET (Folder list are in alphabetical order.)
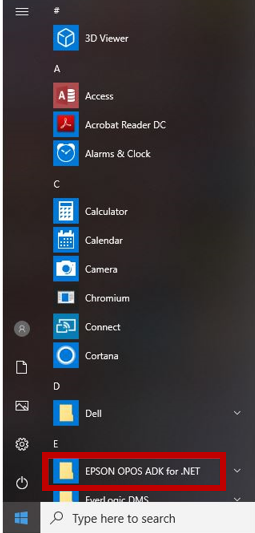
3. Right-click and select Run as administrator
NOTE: Once the SetupPOS file is displayed, acknowledge the UAC prompt, and the utility launches. It should default to show the printer, with the properties greyed out. Verify they match the examples below. If at any time the values do not match the examples, you can use the Modify button to enable editing on the screen.
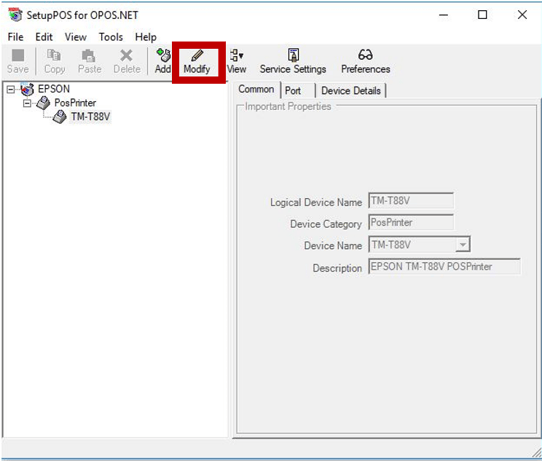
NOTE: If no printer appears, skip to STEP 7 to add it.
4. Write down the Logical Device Name, you will need it in a later step
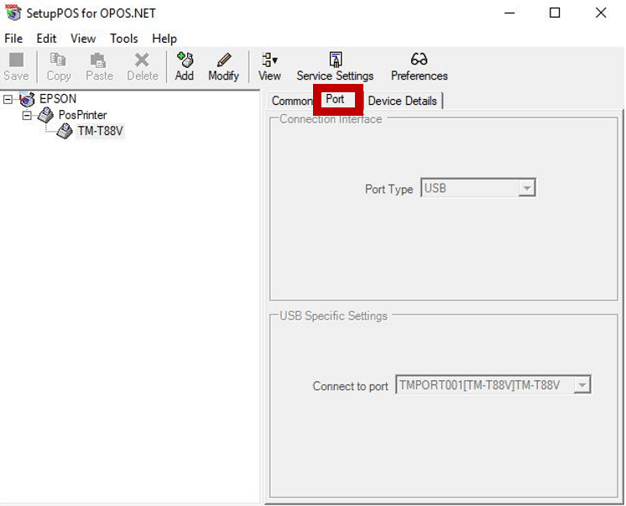
5. Access the Port Tab and verify Port Type is USB and the Connect to port shows TMPORT001[TM-T88V]TM-T88V
NOTE: If it says newTMPORT001[TM-T88V]TM-T88V you will need to uninstall the Epson program and try again.
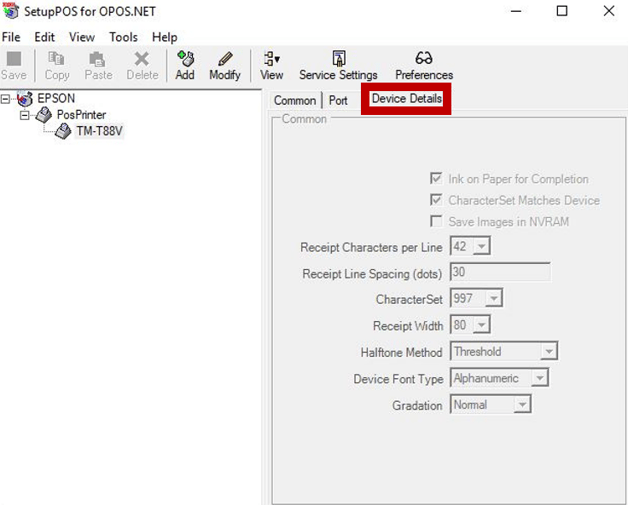
6. Access the Device Details Tab and verify the screen matches the example below
NOTE: If the utility does not show any printers, you will need to Add the TM-T88V printer.
IMPORTANT: If you did not need to add the printer, skip to step 15 below.
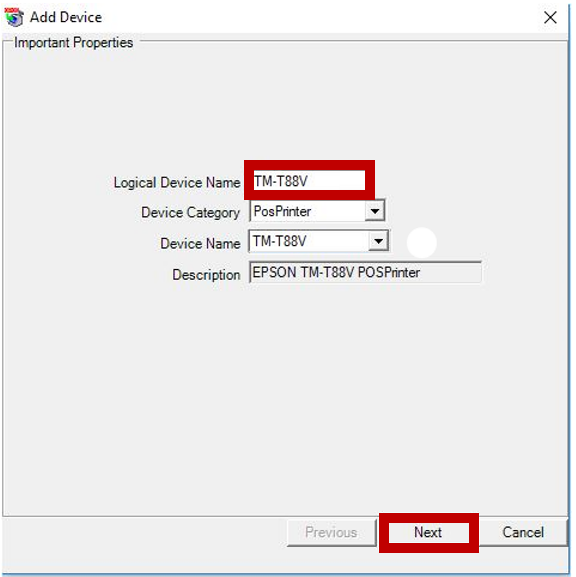
7. Change the Logical Device Name to TM-T88V
8. Click Next
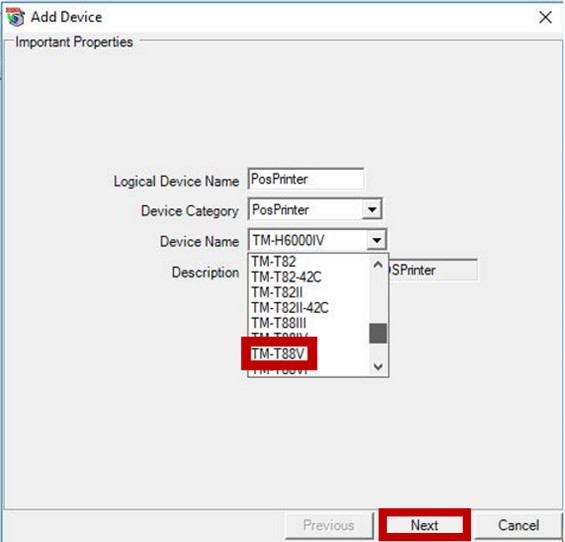
9. Select the TM-T88V printer in the Device Name Field
10. Click Next
11. Click the dropdown menu and select USB
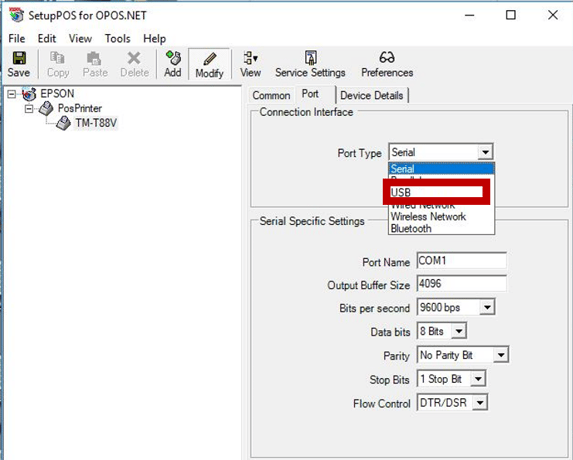
12 Confirm the Connect to port shows TMPORT001[TM-T88V]
13. Click Next
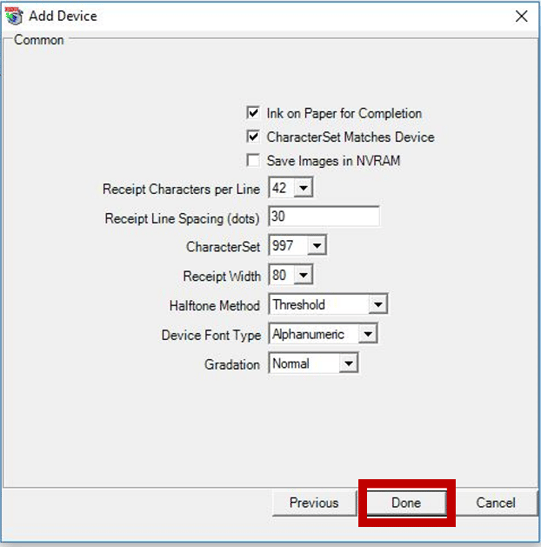
14. Verify the page is set like the example below and click Done
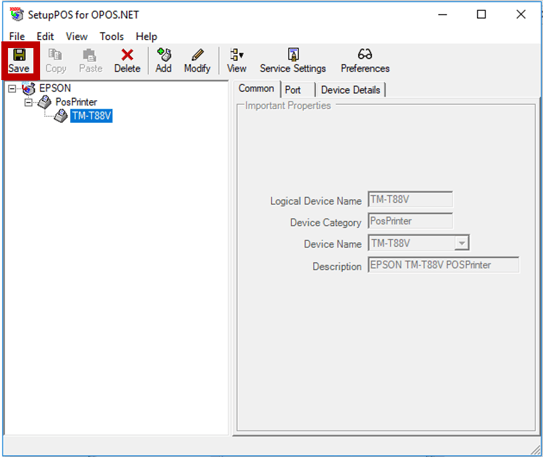
15. Save
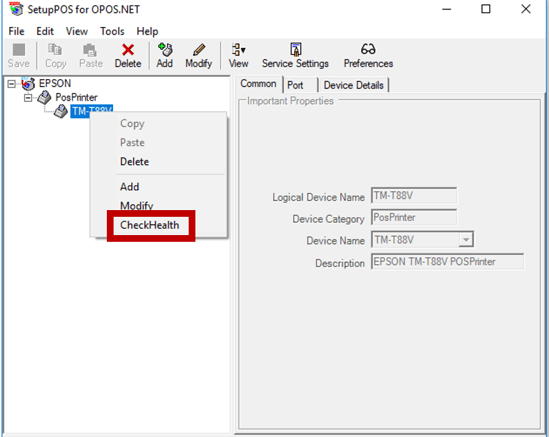
16. Right-click on TM-T88V and select CheckHealth (The printer should advance a line and print.)
Part 5 - Set-up the Workstation in EverLogic
1. Navigate to System Setup and select Workstation
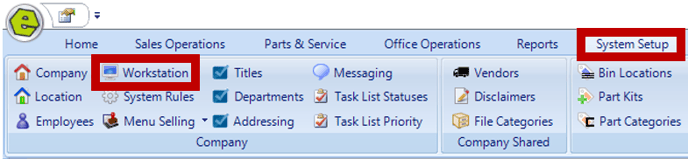
2. Click This Workstation Button

3. Access the Point of Service Tab
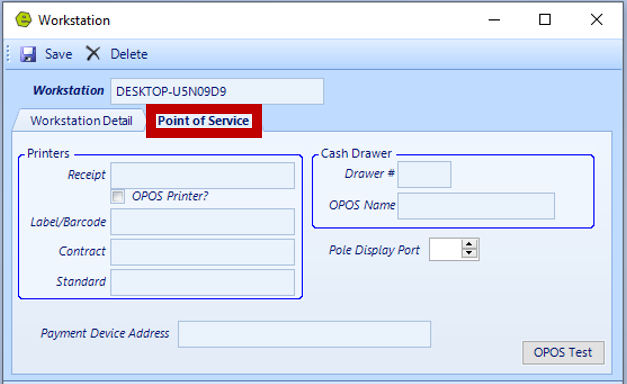
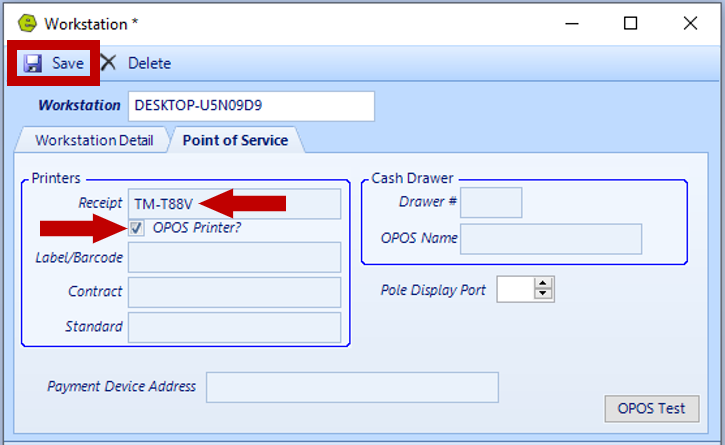
4. Key the Logical Device Name copied during the Setup Utility steps, T88V
5. Check the OPOS Printer Box
6. Save
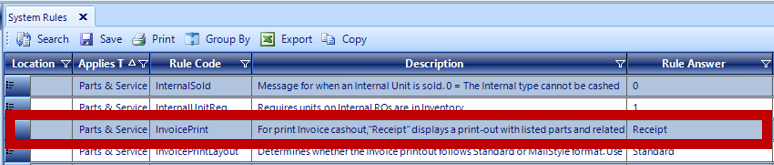
7. Navigate to the System Setup Tab and select System Rules
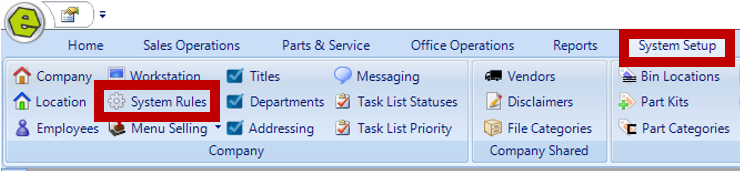
8. Locate Rule Code for InvoicePrint
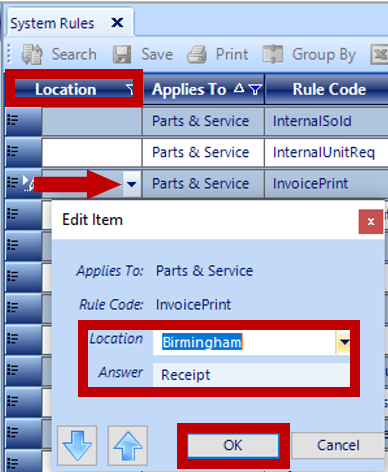
9. If your Dealership has more than one Location
-
- Click the down-drop arrow in the Location Column
-
- Choose the Location
- Key Receipt in the Answer Field (This entry is case sensitive.)
10. Save
