NOTE: We will be using the Zebra ZD 410 as an example in the article. The steps are the same with a ZD 411 or LP 2824 Plus, you will just need to find their names instead within the Zebra Setup Utilities program.
- Make sure the printer is not powered on
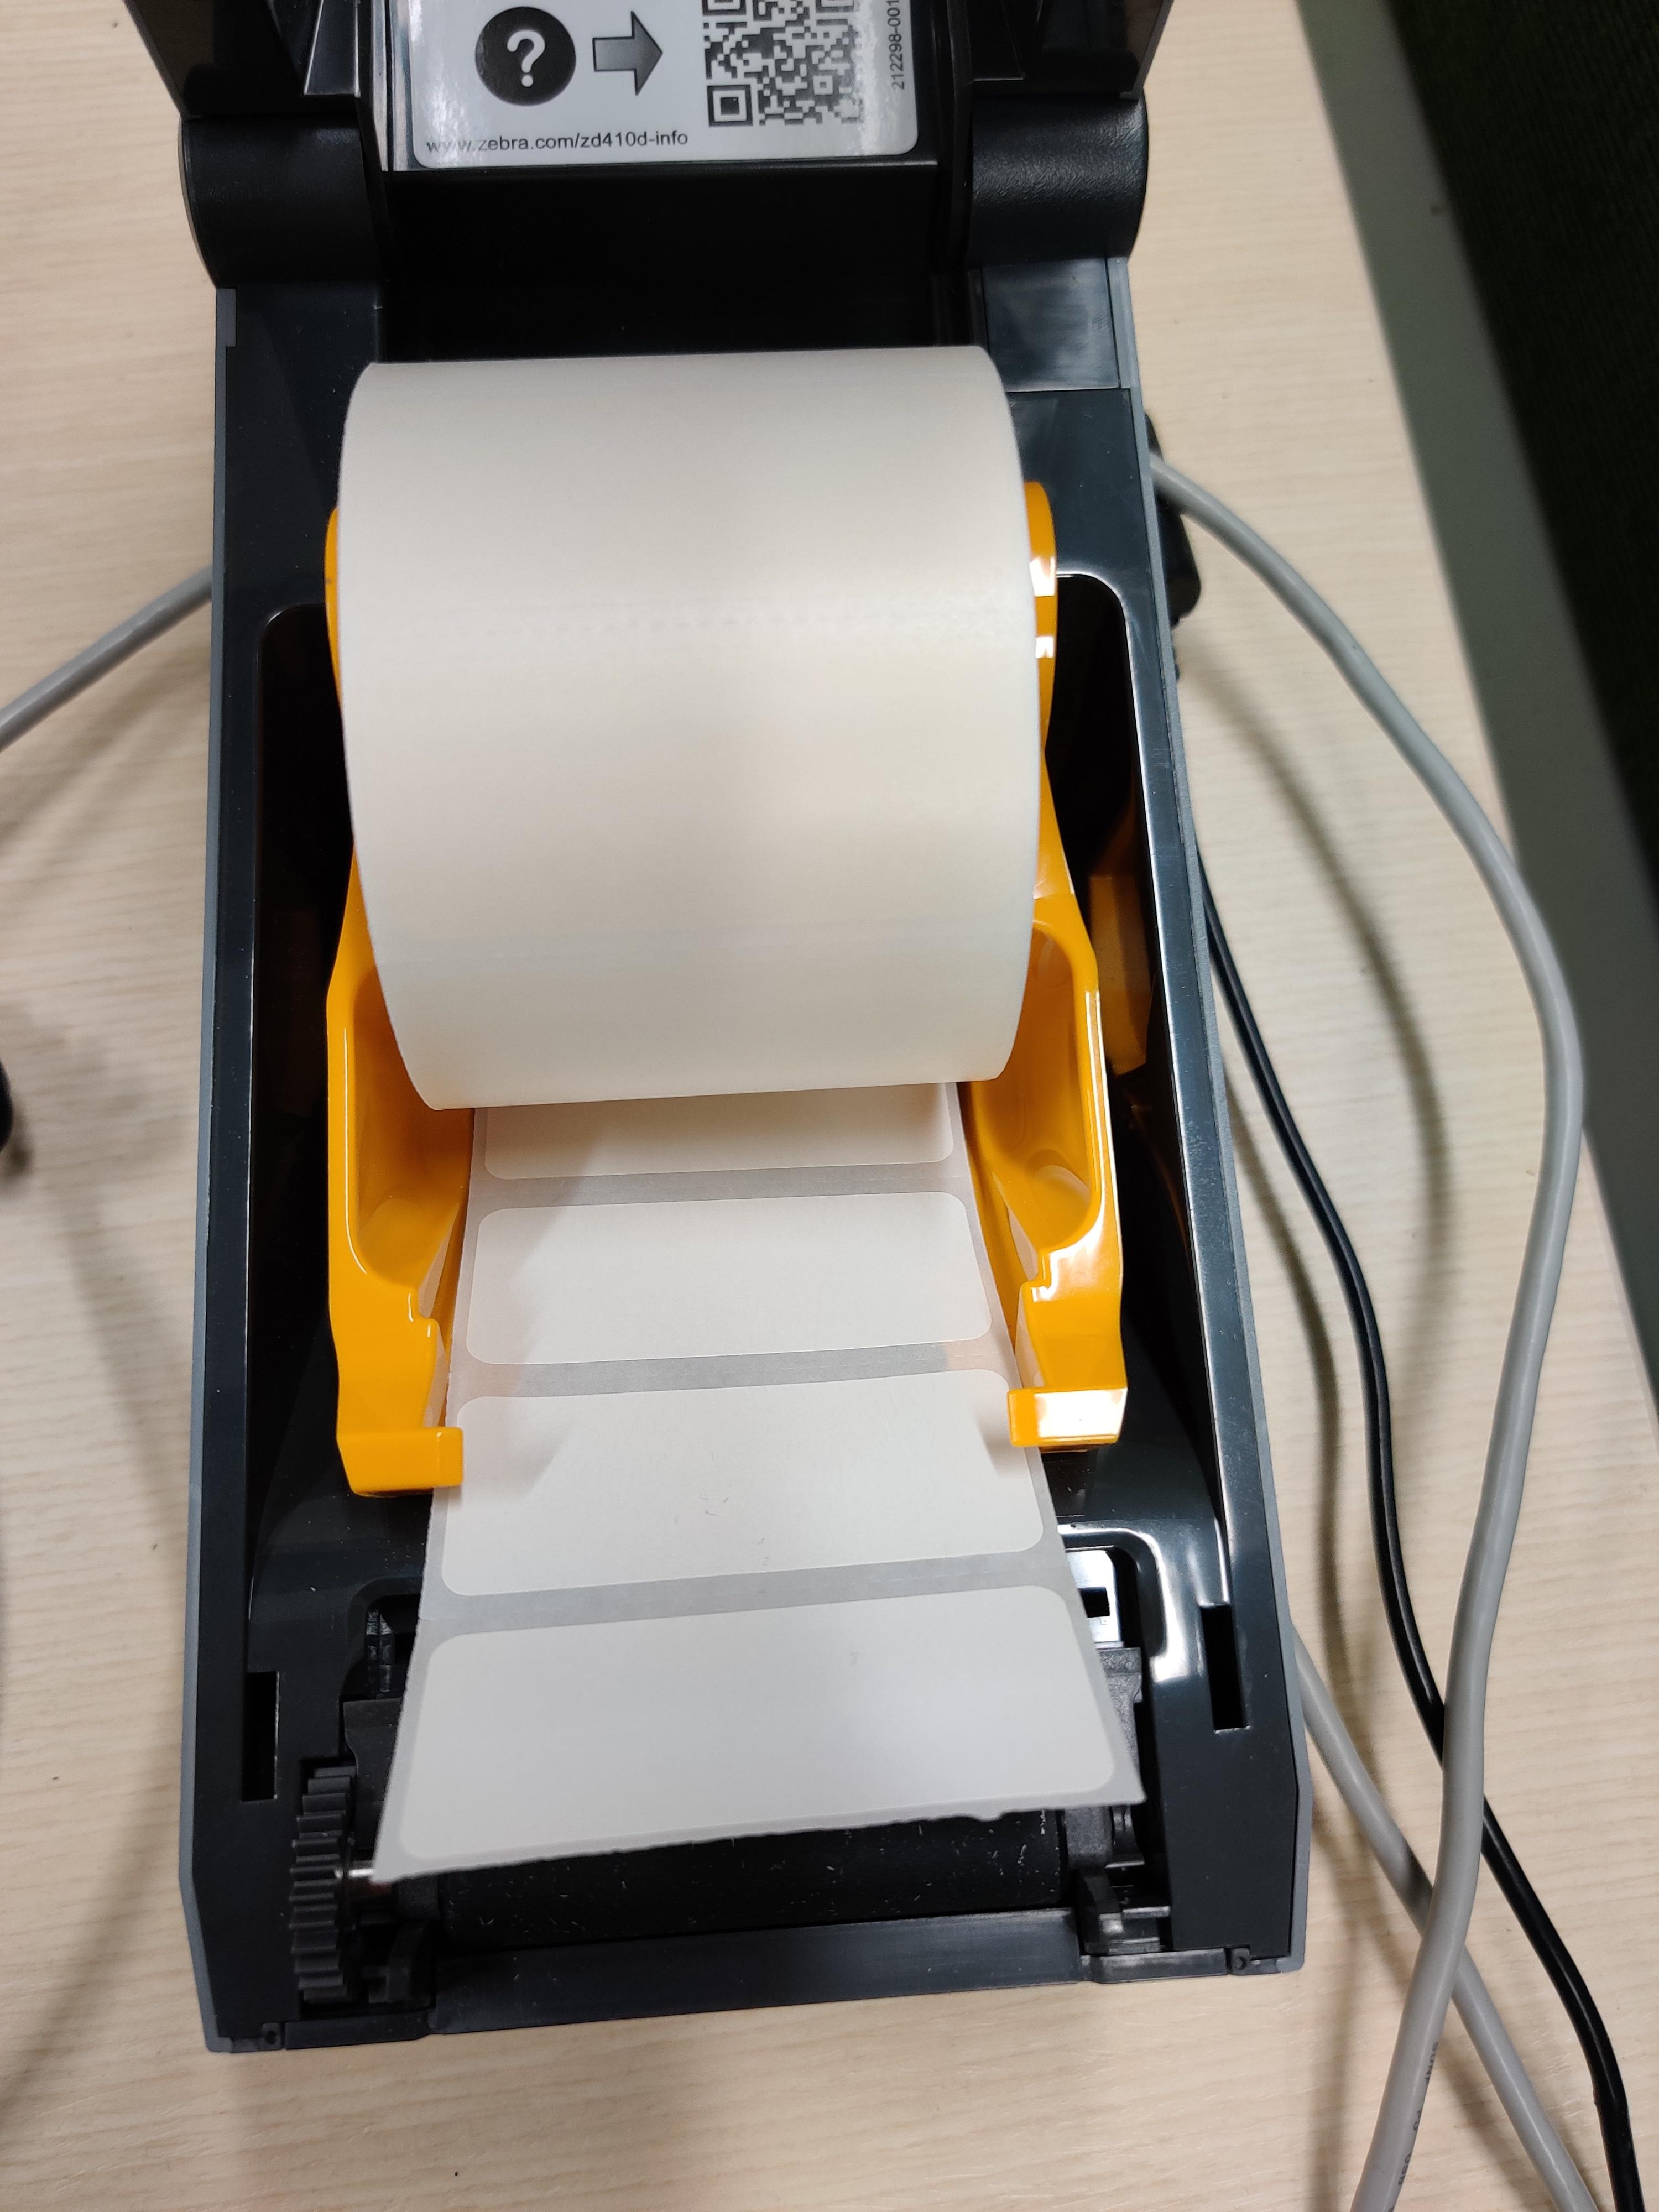
- Open the printer and if necessary, load the label media as shown below
3. Download this file zsu-1191297.exe
4. Open the file zsu-1191297.exe as an administrator
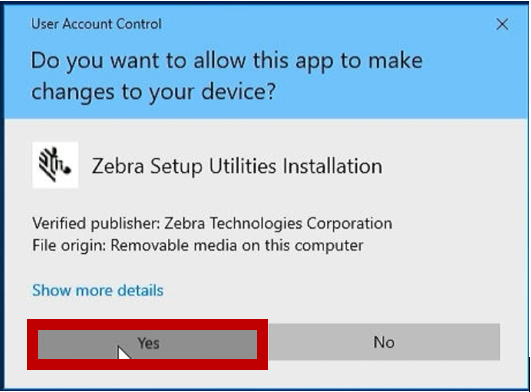
5. Click Yes, when the User Account Control option will appear
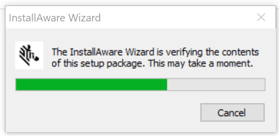
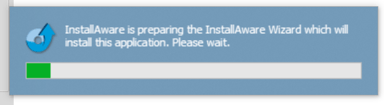
6. Allow the loading process to complete, screens similar to the ones below, will automatically appear
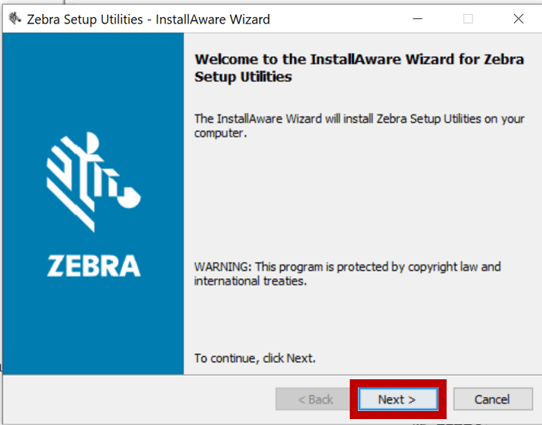
7. Click Next on the Zebra Setup Utilities Wizard
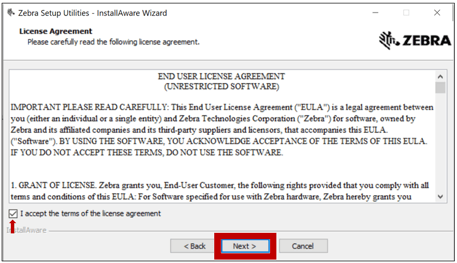
8. Checkmark the box, to accept the License Agreement and click Next
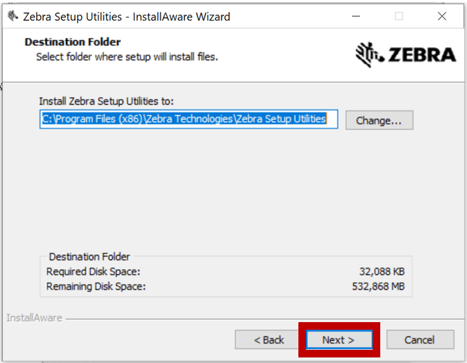
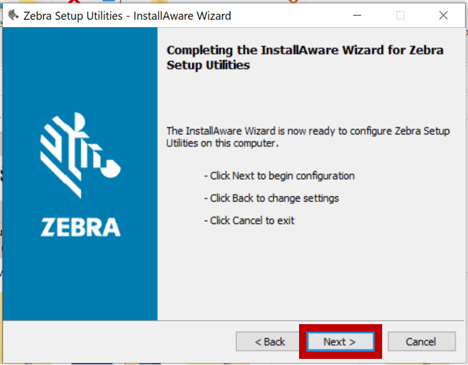
9. Click Next through the following screens without changing anything
10. Allow the automatic setup to run
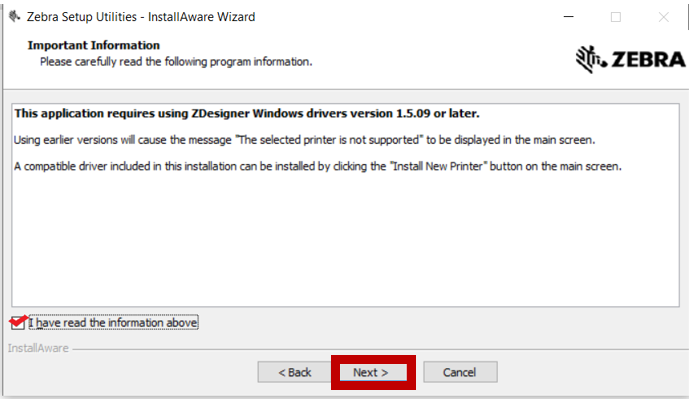
11. Place a checkmark next to "I have read the information above" and click Next, when the automated setup stops with the following message
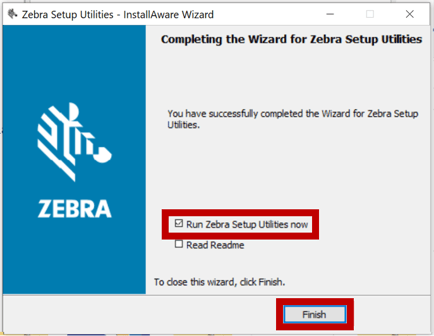
12. Checkmark "Run Zebra Setup Utilities now", then click Finish
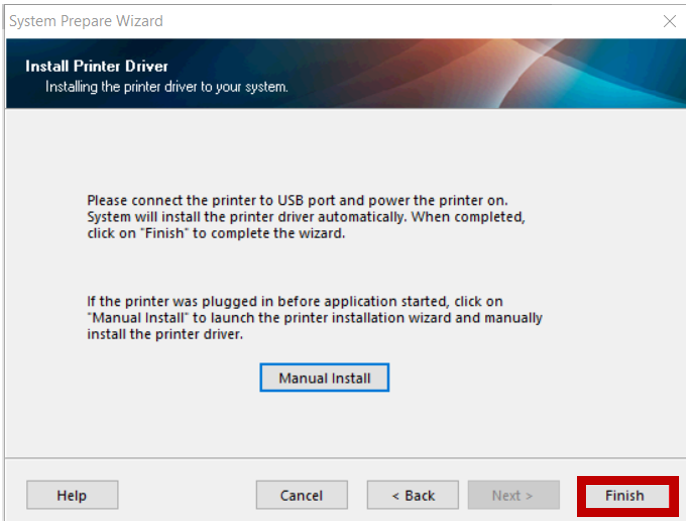
13. Select "USB (Universal Serial Bus)", then click Next

14. Click Finish
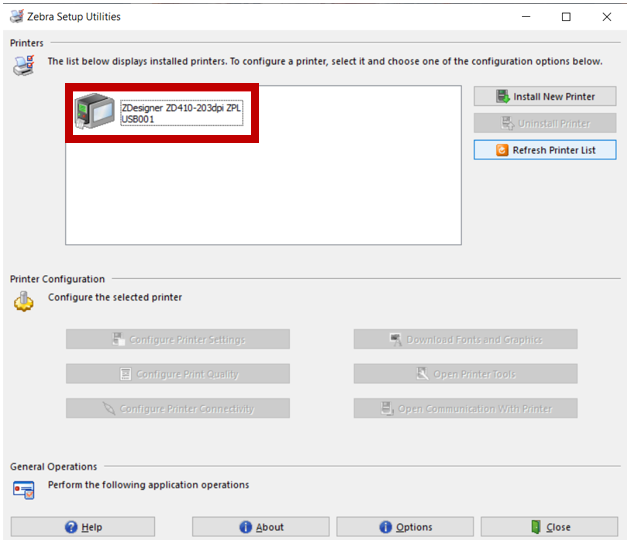
RESULT: Upon completion, the screen below should appear, close this window.
Now, you will need to set-up your EverLogic Workstation, so it recognizes the label printer you just installed.
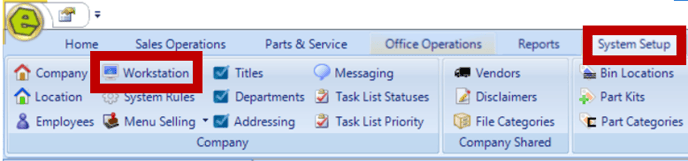
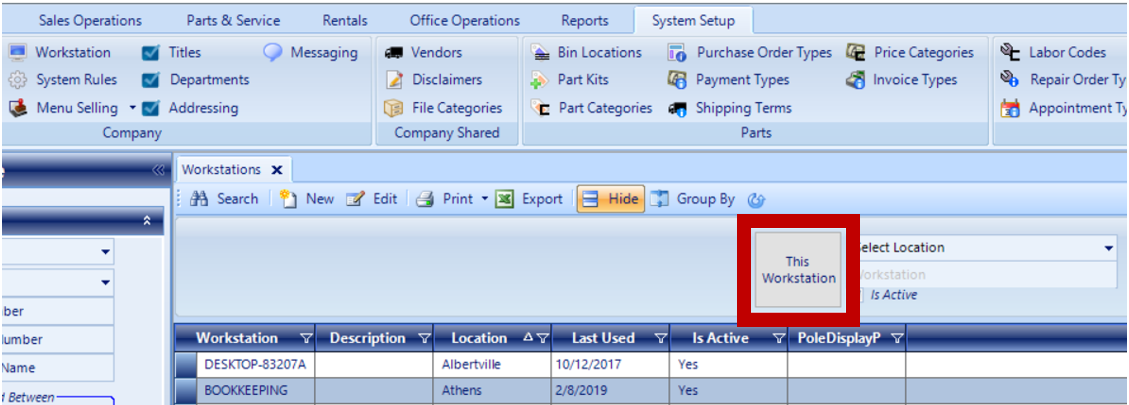
1. Navigate to the System Setup Tab and select Workstation
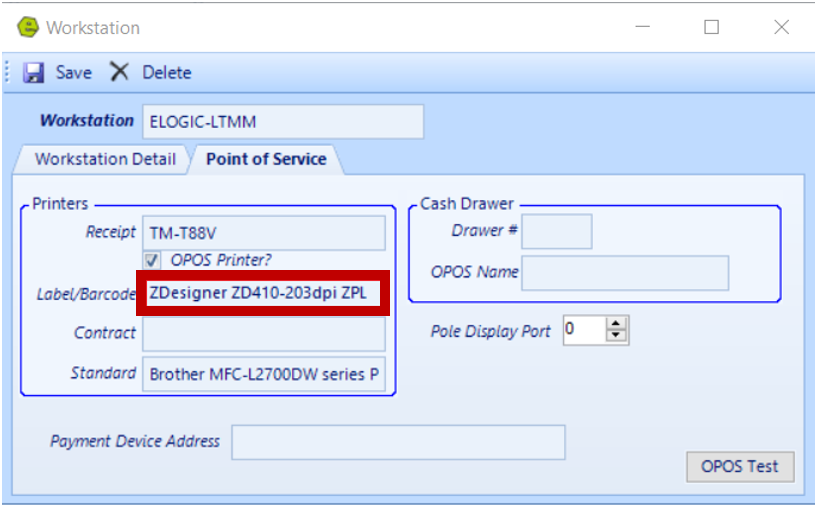
3. Access the Point of Service Tab
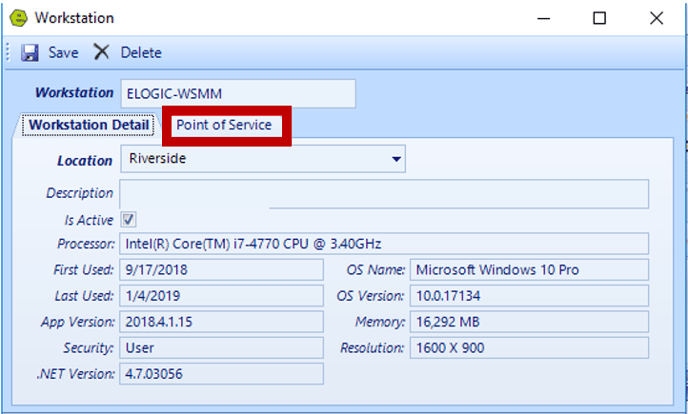
4. Key the printer information in the Label / Barcode Field; by default it is ZDesigner ZD410-203dpi ZPL; you may wish to copy and paste
IMPORTANT: The printer information must be typed exactly the way it shows in the Zebra Setup Utilities.
5. Save
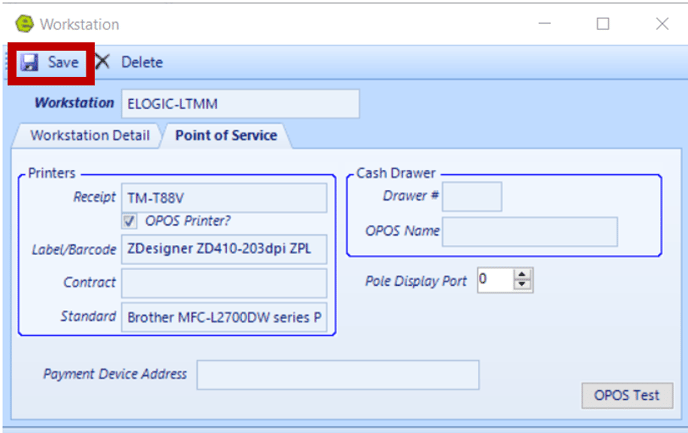
6. Reboot the computer and log back into EverLogic, to ensure proper connectivity
7. Navigate to the System Setup Tab and select System Rules

8. Locate the LabelMargin Rule

9. Key Answer .20, (may have to try multiple adjustment to find the best settings, nothing higher than .40)
10. Click OK

11. Save

Ensure the system rule label margin is set to .25, especially if it prints to the right. Follow the directions below, if the label needs to be centered Up or Down.
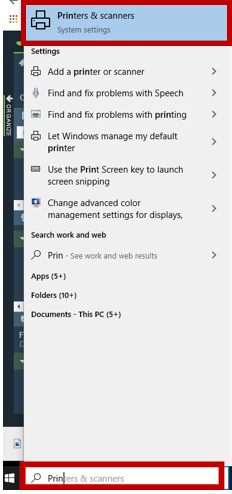
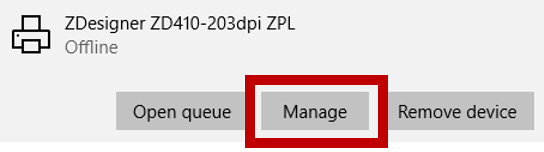
- Access Printers and Scanners from the Windows Search Box
2. Left-click the option for ZD410 and click Manage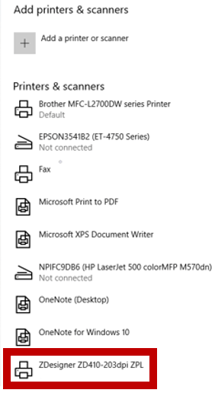
 3. Select Printing Preferences

4. Access Page Setup and confirm the settings, as shown in the display below

5. Select Print Options, and confirm the settings, as shown in the display below

NOTE: Adjustments can be made, to move the print up or down, using the Top Field. The units are decimals of an inch, .25 is a quarter inch.
6. Click Apply, then OK
