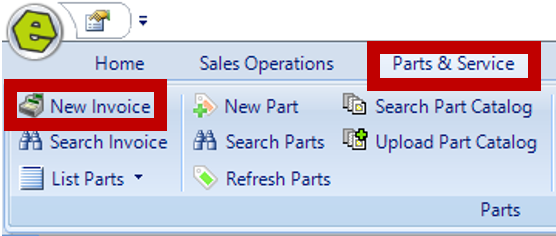
1. Navigate to the Parts & Service Tab and select New Invoice
2. Click to Add Customer
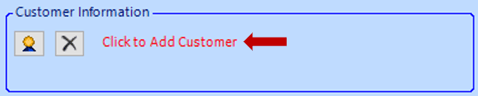
3. Search for existing Customer or Click New to create a new Customer

4. Add Shipping Information, if necessary

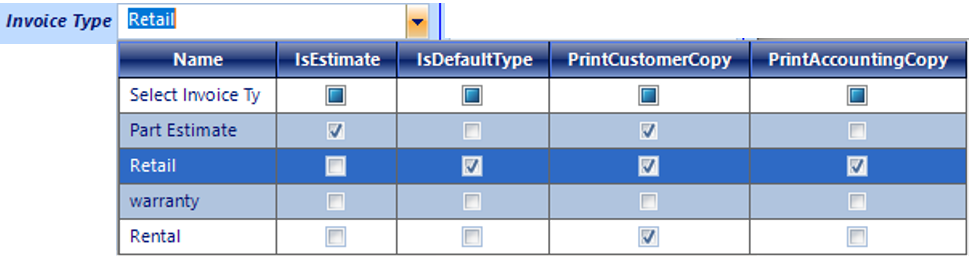
5. Select Invoice Type
6. Mark the "Is Tax Exempt" Button, when working with Tax Exempt Customers
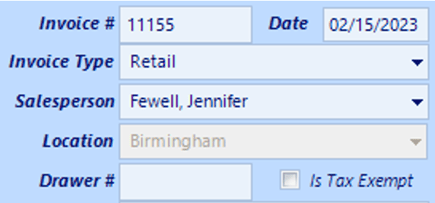
NOTE: The following detail will auto-populate.
-
-
- Invoice # is numbered in sequential order
- Date is the current date of transaction
-
-
-
- Salesperson logged in on the computer used
- Location of the computer used
- Drawer attached to computer used
-
7. Key a Memo, when necessary
IMPORTANT: Memo is not private and may print on a receipt for the Customer to see.
8. Key the UPC, Part # or description or you can use your scanner (Search can be complete by keying only a partial UPC, Part # or description.)
- There are different ways to select parts;
- UPC, Part # or Description can be manually keyed or you can use your scanner and have it transpose to this field for you. You can search by keying only a partial UPC, Part # or Description.

-
- Click the Down-drop Arrow to select part from inventory

-
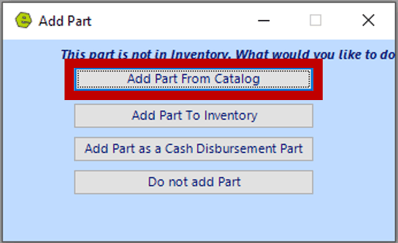
- Hit the Enter Key to select part or click the "My part is not here" Button

-
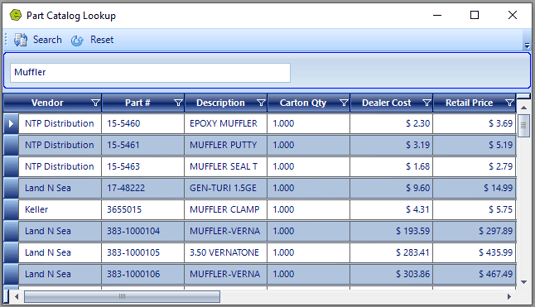
- Click Add Part From Catalog Button
- Double-click to select part
-
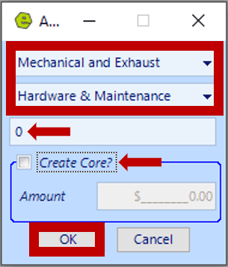
- Select Bin and Category
- Key the amount currently in stock
- Click Create Core and key Core Amount, for core parts
- Click OK
-
- Quantity will auto-fill with “1”, you can manually change it, if you need more than one.

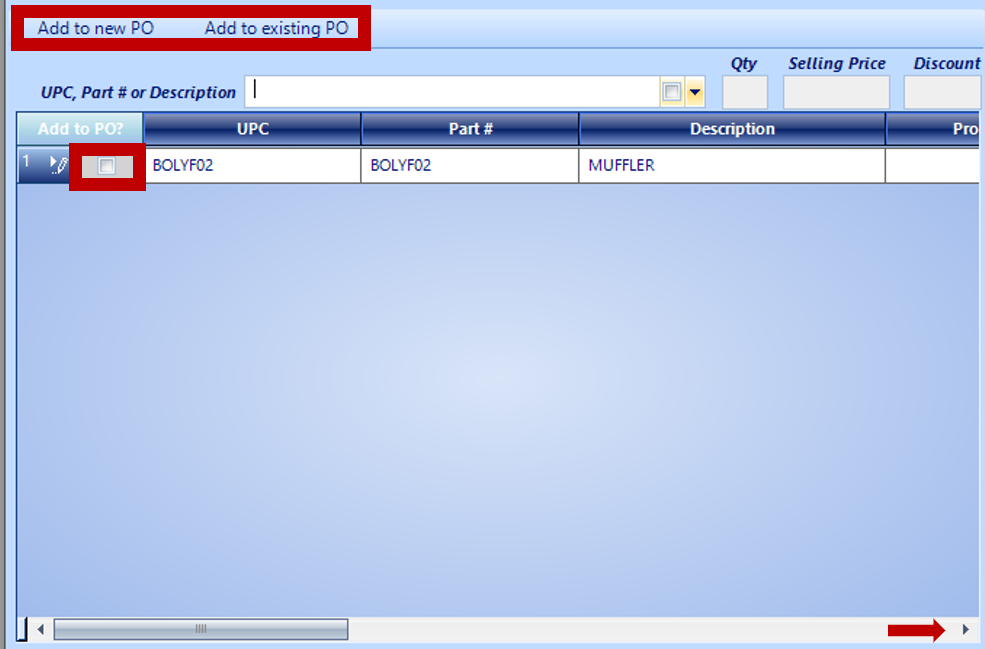
NOTE: The part can be added to a PO, if not currently in stock; click the "Add to PO" Box and select Add to new PO or Add to existing PO, complete the PO Form which appears on screen.
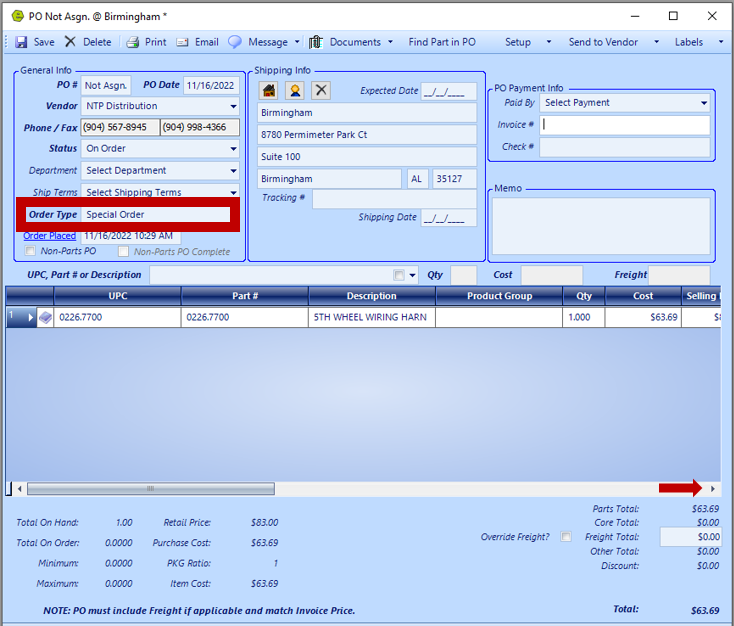
RESULT: The option to “Add to new PO” will generate a PO, with the Order Type marked as "Special Order". Scroll to the right, to see the "Special Order" indicator, SO Customer and Invoice #.

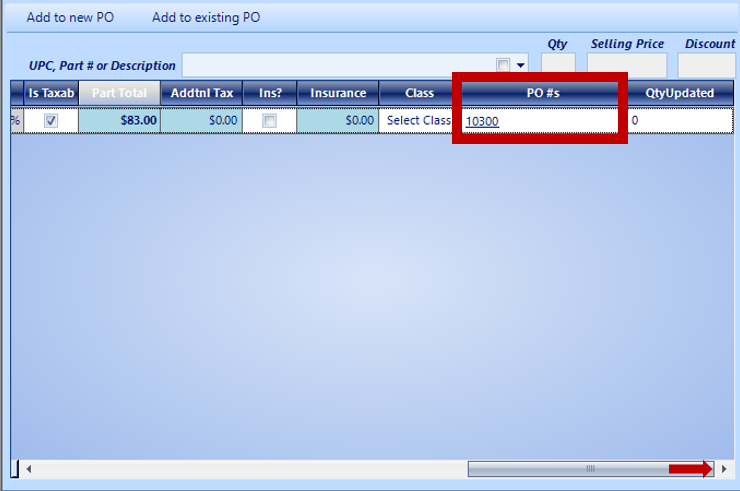
NOTE: Go back to the Repair Order and scroll to the right to see the PO# affiliated with the Special Order.
9. Hit Enter or Tab Key to display the part selected into the parts section
NOTE: Scroll to the right to manually change the items listed below, the PO#s will automatically display if the part is placed onto a Purchase Order.
-
-
- Quantity
- Cost
- Selling Price
- Price Category
- Freight
- Discount
- Taxable
- Additional Tax
- Insurance
-


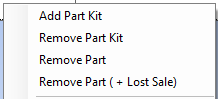
NOTE: Right-click on the Part (Kit) line if it needs to be removed from the Invoice and select the correct option, from the menu.
10. Save
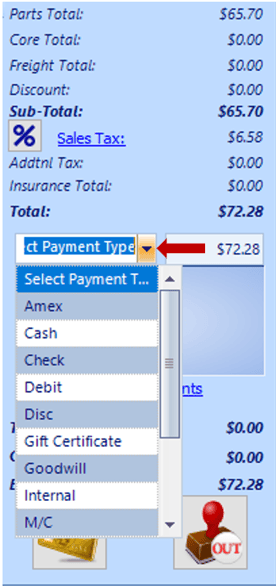
11. Select Payment Type and key amount of payment
IMPORTANT: Click the Gold Credit Card Button, if taking the payment with a card.
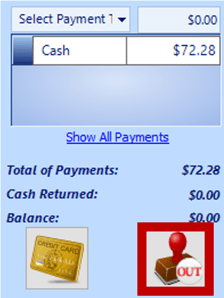
12. Hit Enter or Tab Key, to display the payment in the Payment Box
13. Click the Rubber Stamp Icon to close the Invoice
IMPORTANT: Multiple payment types and / or deposits can be accepted. Remember, Payments will show on the EOD, the day you close-out the Invoice. Deposits will show on the EOD, the same day you take the Deposit; Accepting / Refunding a Deposit on Invoices / Repair Orders.
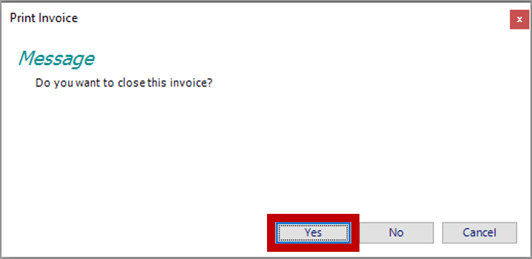
14. Click Yes on the display window, "Do you want to close the Invoice?"
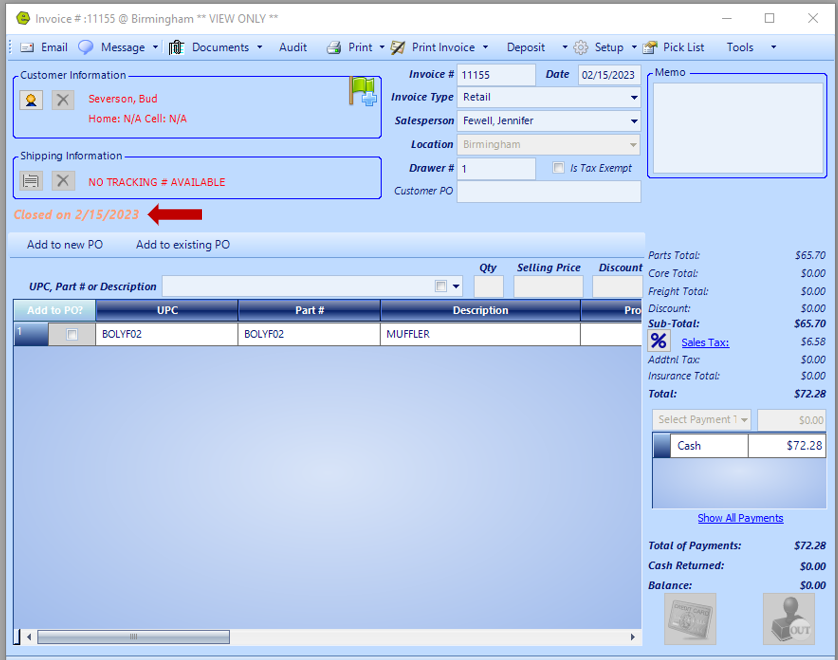
RESULT: The Invoice will show close date in orange.
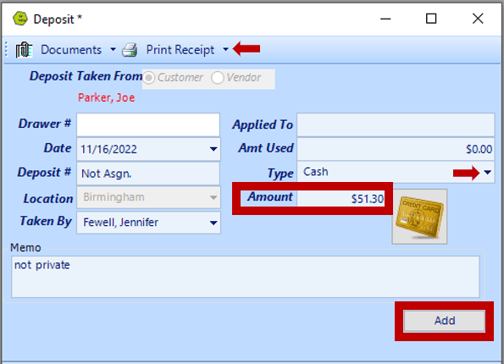
Deposit
1. Click the Deposit Button on the toolbar

2. Select the Payment Type, by clicking the down-drop arrow
- Cash / Check Transaction
-
- Select Payment Type
- Key the Payment Amount
- Click the Add Button
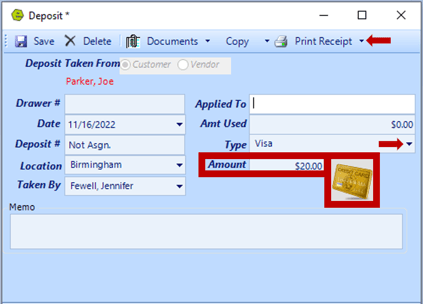
- Credit Card Transaction
-
- Select Payment Type
- Key the Payment Amount
- Click the Credit Card Button
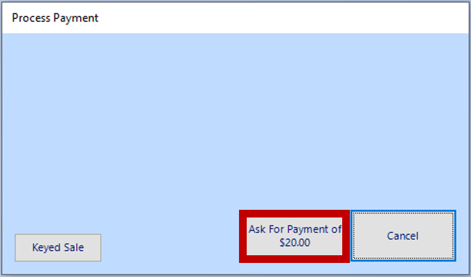
- Click the "Ask for Payment of $__ Button OR Keyed Sale, if the credit card device is not connected to EverLogic
NOTE: You can print a deposit receipt, by clicking the Print Receipt Button.
Please check out these videos below if you need additional help:
Related Articles:
Accepting / Refunding a Deposit on Invoices / Repair Orders
Full / Partial Refund on an Invoice or Repair Order
Change Cycle Count to Zero (0)
Cycle Count Adjustments to Accounting