
There are different ways to enter parts;
- EverLogic will import list from excel.
- EverLogic can upload a catalog, which is a digital price file obtained from the supplier.
- Copy an existing part.
- Complete the manual entry, outlined below.
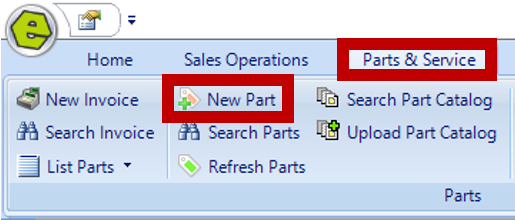
1. Navigate to the Parts & Service Tab and select New Part
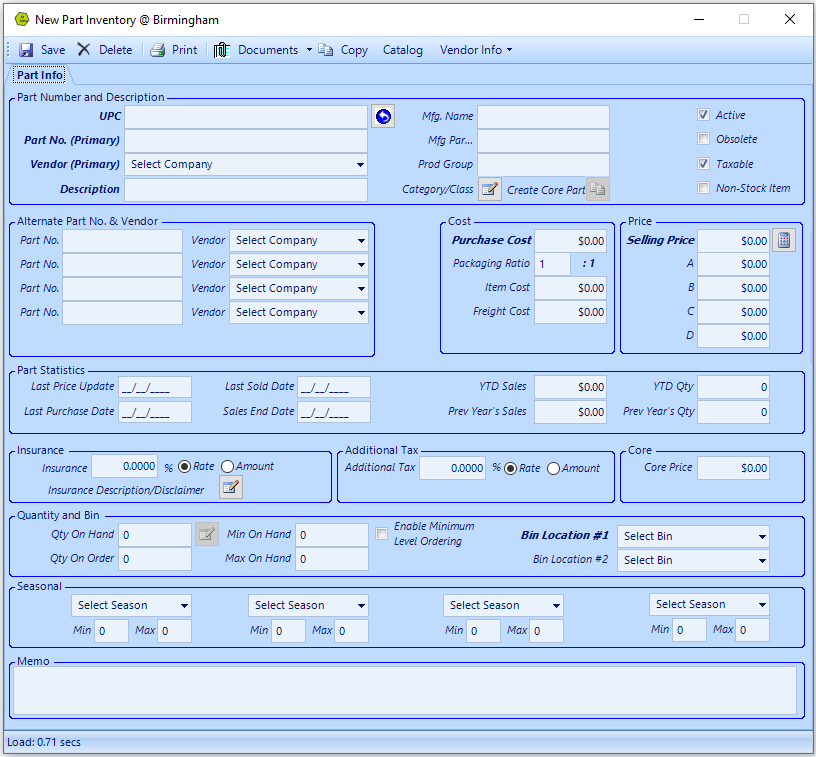
2. Complete the Part Inventory Form, outlined below
REMINDER: Bolded fields are required.
Part Number and Description

- The four fields on the left are for part details.
- UPC – A required field. The number below the bar code. If you don’t have a UPC, some dealerships use the part number.
- Part No. (Primary) - A required field. Enter the number that will be used as the part number. If you want to print a label for the part, make the number numeric. It is a alphanumeric field.
-
NOTE: Parts upload does not accept duplicate part numbers and has character limits;
- UPC = 21
- Part Number = 50
- Description = 100 (can be added up to 500 characters after initial upload)
- Memo = 500, this is not allowed on the initial upload
-
- Vendor (Primary) - Use the drop-down list to select the Vendor. Vendors are built in the System Setup tab.
- Description - Enter the part description.
- The items in the middle allow you to key additional detail, including "Create a Core Part".
- Mfg. Name – The manufacturer’s name for the part.
- Mfg. Part Number – The manufacturer’s part number assigned to the part.
- Prod Group – A group of related products, which share some common attributes.
- Category / Class - Categories can be created in the System Setup Menu and can be used to group similar parts together.
-
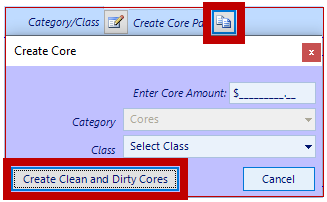
Create a Core Part - This selection is greyed-out until you click save. This option will include the core credit, when the customer returns the Core. Enter amount and click the button to “Create Clean and Dirty Core”.
- The four selections available, on the far right of this section, are described below.
- Active is auto-selected. Every part is considered Active, even if you only sell it once. If you think you will never sell it ever again, you can choose to remove the Active Indicator, mark it as Obsolete or delete it. Deleting the part does not completely delete it, it just makes it inactive. There will be an alert if you try to add the part to an Invoice or Repair Order, which will allow you to make the part Active again.
- Obsolete is used for those parts that are no longer available from the supplier / manufacturer, may have made improvements to the old part and now it is “new and improved”, with a new part #. You may still have some of these parts on the shelf, you can continue to sell them, then mark it as Obsolete / in-active, after they have all been sold. This will prevent you from creating a PO on an Obsolete product.
- Taxable Always leave marked, even if your state is a non-taxable state, that way you don’t have to go back and update, if the state ever starts charging tax; (OR and WA do not charge tax).
- Non-stock Item may be used for “shop supplies”, which are usually non-stock items, which you may include a charge as percentage of the labor, not as a part; ie, gloves, lubricants, alcohol wipes, nuts and bolts, etc. When using “Non-stock Item”, the Cost, Selling Price and Bin are no longer mandatory fields. Also, the part will not be tracked when taken out of inventory.
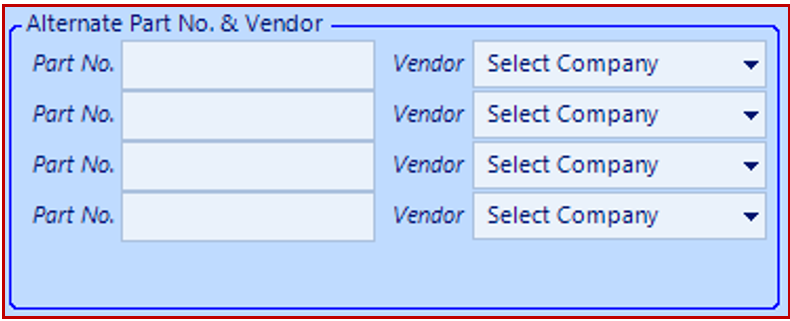
Alternate Part No. & Vendor
The Alternate Part No. & Vendor allows you to key up to four separate part numbers and Vendors on a single Part Form, that all share the same UPC. The system will calculate statics on all parts, however, it will not track the different Vendors. If you want the system to track the different Vendors, you will need to set-up a new part for each Vendor as the primary. If you choose to track these parts separately, you can change the System Rule UseAltPartProcess answer to 0 (zero).
REMINDER: Each Part Number should be listed as an Alternate Part Number on both Part Forms.
Cost and Price
- Purchase Cost is required unless the non-inventory item is used. When you tab out of the Purchase Cost Field the amount is carried forward to the Item Cost. Packaging Ratio represents the number of items you will receive, when placing the order. For instance, you may order a battery at 1:1 ratio, while a sealant may be ordered at 12:1 ratio, if twelve tubes of sealants come in one case.
Example: A case of 12 tubes of sealant costs $100, which is the Purchase Cost for the dealership. The Packaging Ratio would be 12:1. The Item Cost would be 100 / 12 = $8.33. The system will automatically calculate this for you. You can key the freight, if it applies.
- The Selling Price represents the amount at which you are selling the part. When selling the part to a Wholesale Customer and your System Rule Internal Markup is set to Yes, with a percent assigned in the location table, the system will automatically enter the retail price on Line A. EverLogic suggests a Suggested Markup Amount on Line B, as a suggested markup. Lines C and D are up to your dealership to assign.
REMINDER: Use Wholesale Invoice Type when selling to Wholesale Customer.
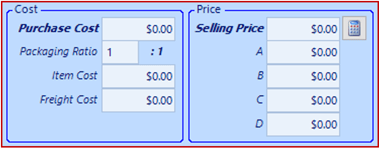
IMPORTANT: There is a System Rule to allow the Internal Markup Rate to display in the B Field. This Markup Rate is assigned in the Dealership Location Form, under System Setup.


Part Statistics
Part Statistics are updated as you sell and purchase items. Sales are represented in dollars and quantity.

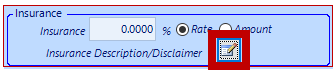
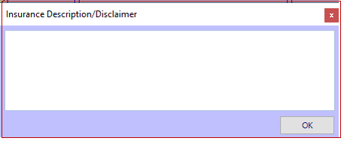
Insurance
Insurance can be added to Part Invoices. Select the radio button for a percent of the selling price or a flat dollar amount. If you would like to enter a description / disclaimer on the insurance item, click the note pad to open the Insurance Description / Disclaimer Window.
NOTE: A part will show highlighted with yellow when placed on an Invoice.

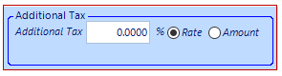
Additional Tax
Additional Tax may be calculated at a percentage rate or a flat dollar amount. Additional taxes are accumulated separately and sent to QuickBooks separately.
Core Price
Core Price in this location is no longer used, this option will not map to QuickBooks.
Quantity and Bin
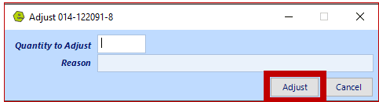
- Qty on Hand – Enter the amount of a part you have in stock. A reason can be added to describe the reason the amount is manually adjusted, click Adjust to continue.
- Qty on Order – Key the quantity of a part on order.
- Min on Hand – Minimum number of a part you want to keep in stock.
- Max on Hand – Maximum number of a part you want to keep in stock.
- Enable Minimum Level Ordering – Be sure to click this button, if you want to use this option. Choosing to Enable Minimum Level Ordering will trigger the Suggested Reordering Report, located under the Parts & Service Tab. You can use Suggested Reordering, to see every part in stock which dropped below the minimum / maximum, so you can easily restock the shelves, without having to track it manually.
- Bin Location #1 - required field
- Bin Location #2 - not required

Seasonal
The Seasonal option is broken down between the four seasons of the year (Spring, Summer, Fall, and Winter). This functionality allows you to choose different quantities for "Minimum / Maximum on Hand" during the seasonal period, which will also trigger the Suggested Reordering Report, located under the Parts & Service Tab.

Memo
Add detail notes and information of changes within this region, this is not a private note.

f
Related Articles:
System Setup for Alternate Part Numbers
Creating a Parts Purchase Order
Receiving a Purchase Order and Creating a Back Order PO