1. Navigate to the Parts & Service Tab and select New Part PO

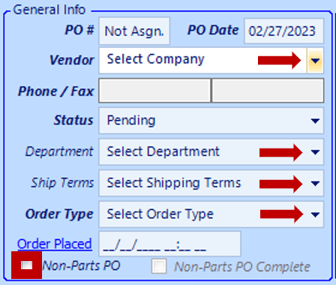
2. Click to select
-
- Vendor: Hit Enter or Tab Key to display the Phone / Fax Number for the Vendor selected, (required)
-
Status: EverLogic will auto-populate as "Pending"
- Department: not required
- Ship Terms: not required
- Order Placed: Double-click to display current date and time, (required)
- Non-Parts PO: Used to order office supplies, furniture, etc
NOTE: EverLogic assigns the PO# and PO Date, after you save the PO. The PO Number will be sequential from the last one you entered.
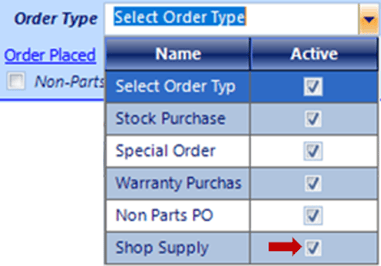
IMPORTANT: Shop Supplies should be placed on separate Purchase Order.
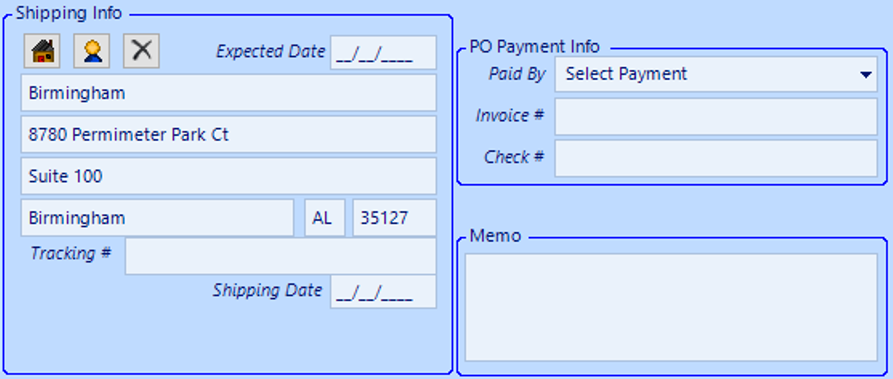
3. Complete the following sections, not required
-
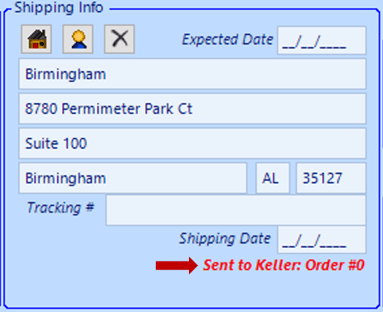
- Shipping Info
- PO Payment Info
- Memo: not private
4. Key the UPC, Part# or Description
5. Click the down-drop arrow, to search from Inventory listed in the drop-down menu
6. Double-click to select the Part
7. Hit the Enter or Tab Key to display the Part in the Parts Box below

8. Key the UPC, Part# or Description
9. Hit the Enter Key to order part from a catalog, Search / Order Parts from a Parts Catalog
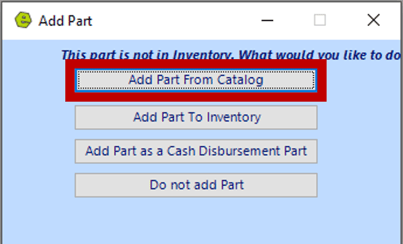
10.
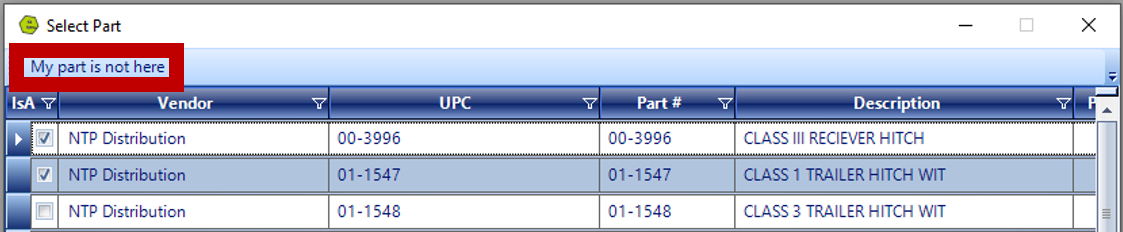
11. Click the button to Add Part From Catalog
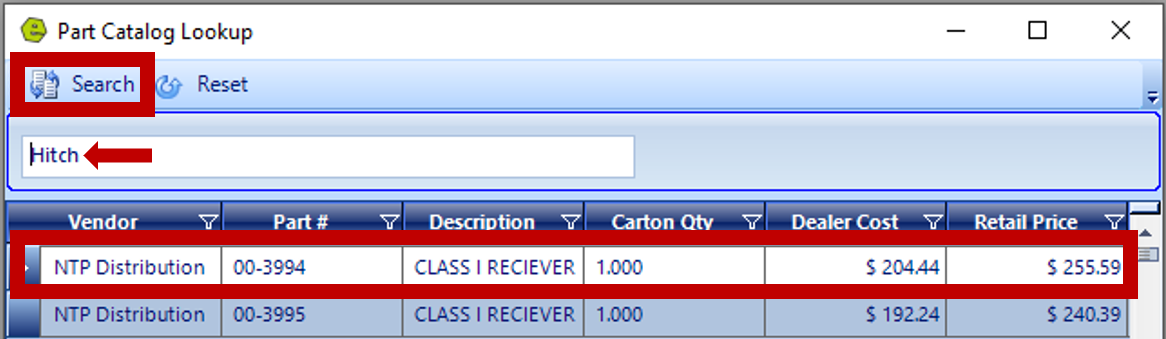
12.Search to locate the part
13. Double-click to select the part
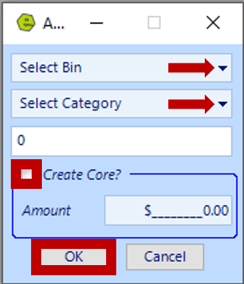
14. Select Bin
15. Select Category, (Part Categories are mapped in QuickBooks)
16. Create Core, when necessary
17. Click OK
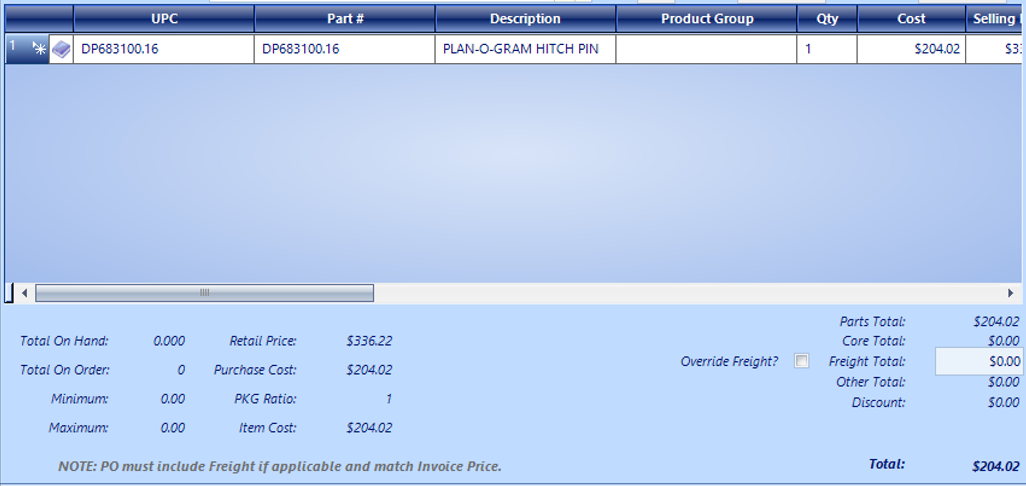
18. Scroll to the right to manipulate the figures;
-
- Quantity
- Cost
- Selling Price
- Freight
- Discount
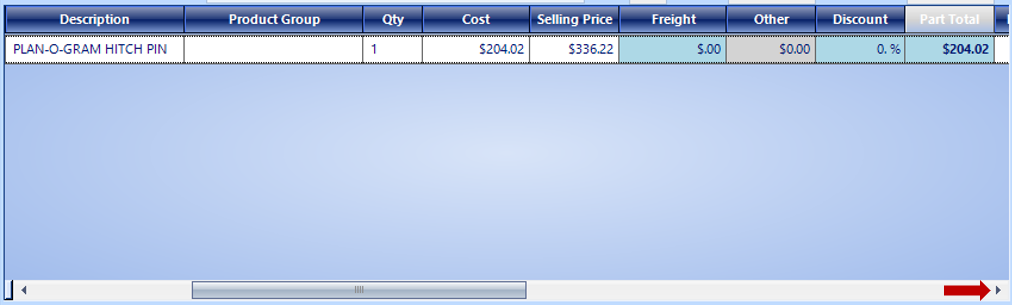
NOTE: The part will display ion the Parts Box and the Totals will display at the bottom.
NOTE: You can remove an item, by right-clicking on the line you wish to remove.

19. Save

NOTE: Use the "Send PO to Vendor" Option from the toolbar. It will show in red, in the Shipping Info Section.

NOTE: If the Dealership receives a credit from the Manufacturer, make that entry in QuickBooks, not in EverLogic.
Related Articles:
Adding a New Part / New Part Inventory
List Unposted POs (Purchase Orders)
Receiving a Purchase Order and Creating a Back Order PO
Using Suggested Reordering to Create a Purchase Order