
Customize and print window stickers.
1. Search and open the Vehicle Inventory Unit for which you wish to print the window sticker
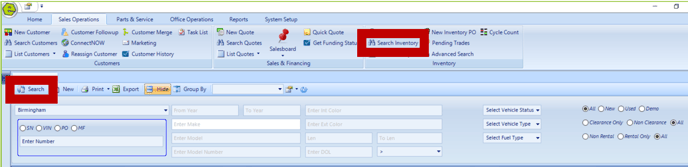
2. Click the Print Button on the right of the toolbar, then select Window Sticker

3. Customize the window sticker using the Control Panel
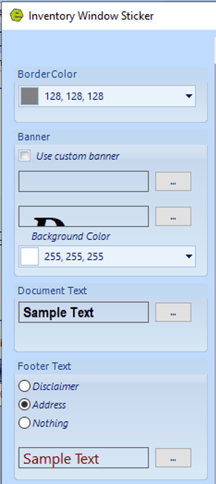
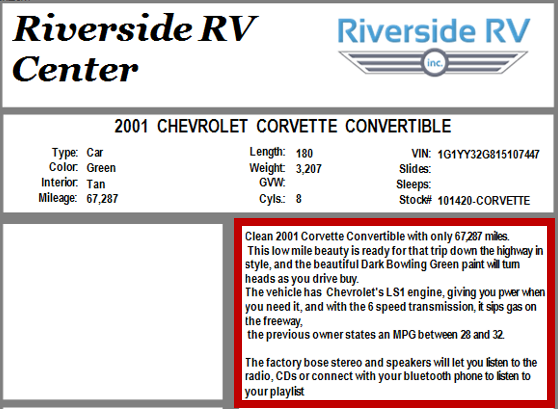
ILLUSTRATION EXAMPLE: Basic blank window sticker. The dealership location is taken from the location information in the system setup tab, and appears on the upper left corner. The company logo is also sourced from the location information and displays on the upper right corner.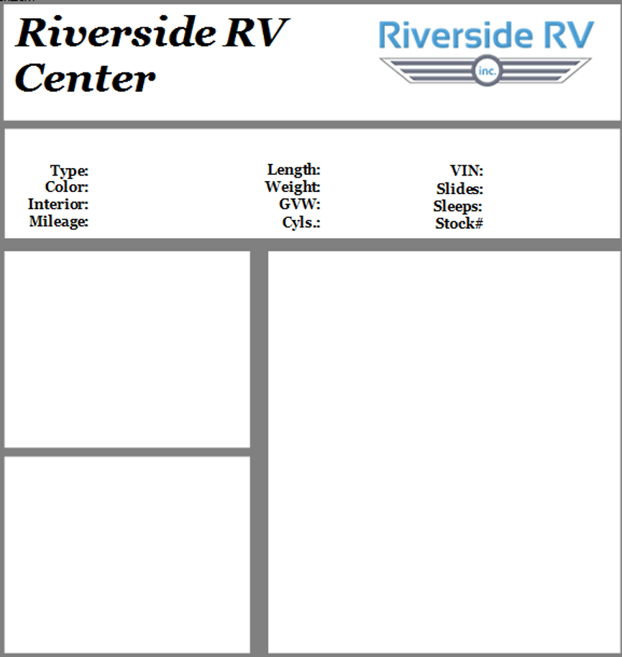
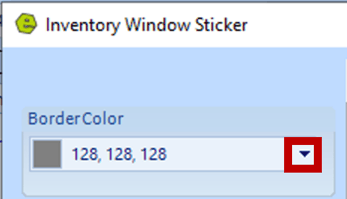
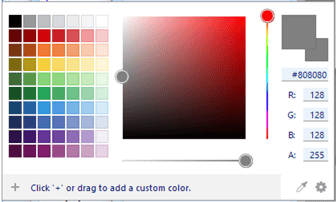
4. Click the drop-down menu to open color selection pallet, to select the preferred colors for font, background from the color boxes or enter values in the RGB Fields
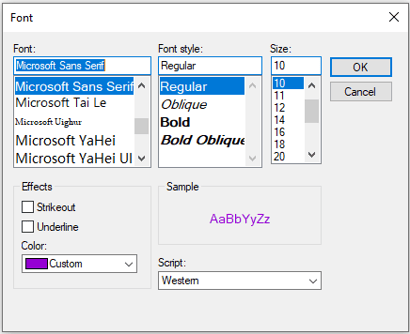
5. Click the control buttons, to open the font dialog panel adjust the font style, size and color
After completing the general tab and properties tab information for the unit:
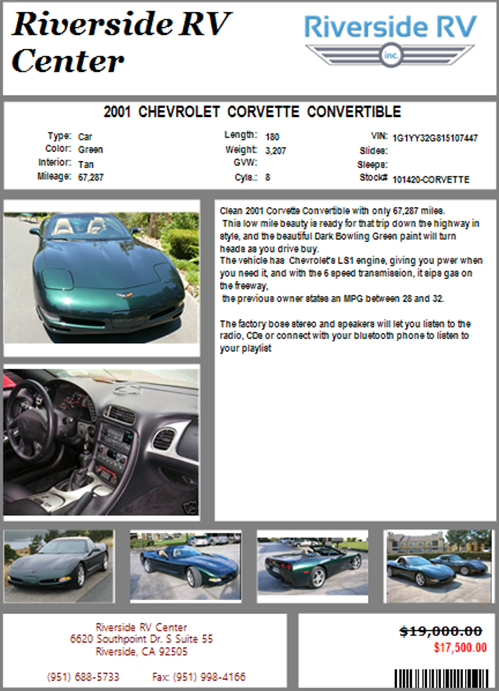
- Control A is for the size and font for the header. In this case, Riverside RV Center is using the Georgia font, Bold Italic, and size 36.
- Control B is the document text, using font Arial Narrow Bold, size 12. That font is narrower than Georgia, allowing a larger font that will fit the VIN inside the document.
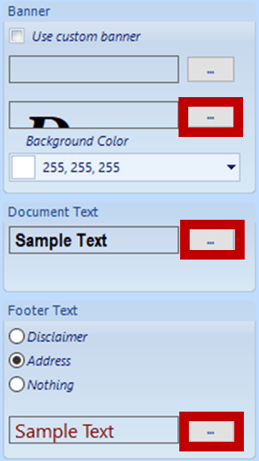
NOTE: An alternative to the header is to use a banner image. The banner image must be five times wider than the image is high. To enable using a banner image, check the Use Custom Banner Box, and then click the control button to open your pictures folder where the image is stored. Choose the desired image and click Open.

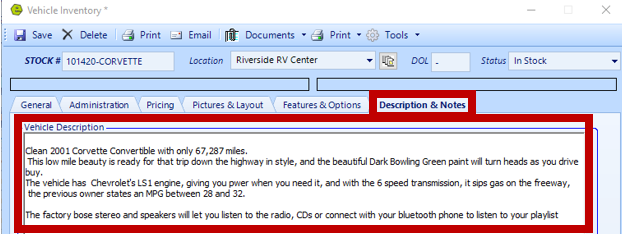
The details from the Description and Notes Tab will auto-populate to the lower right section of the window sticker.
Up to six images can be added to the left of the description.
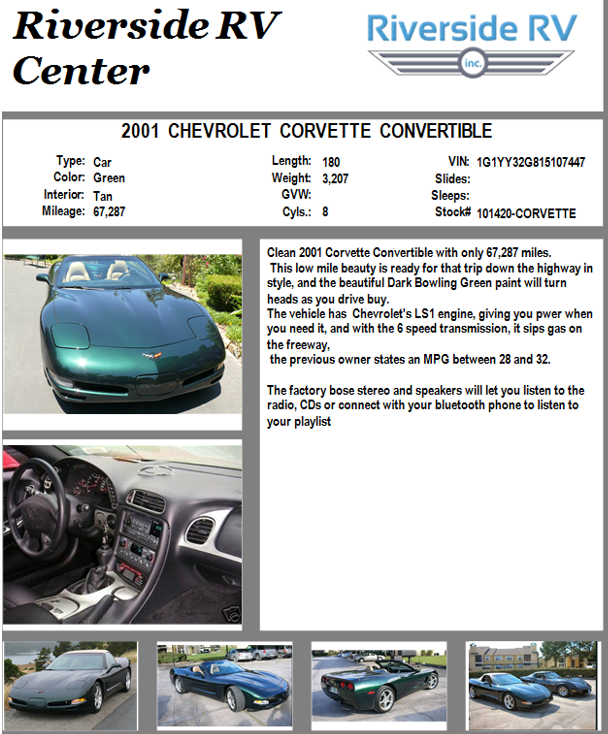
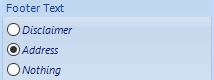
The dealership address or disclaimer can be placed on the bottom left of the window sticker.
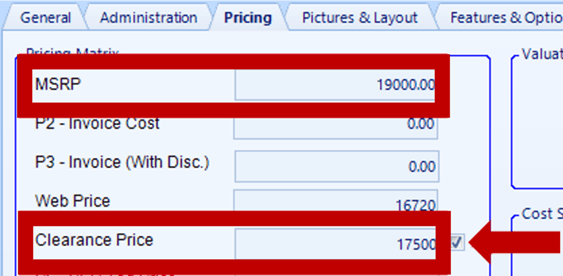
The amount in the MSRP Field on the Pricing Tab will display on the bottom right of the window sticker.
Check the box to the right of the Clearance Price to show on the window sticker.
EXAMPLE: Completed window sticker
Related Articles:
New Vehicle Purchase Order Form (Multi-Unit Ordering)
Adding PAC as a Default to Vehicles
Mapping Vehicle Type in QuickBooks
Enter Floor Plan Balance on a Unit
How to Change the Floor Plan Starting Balance of Unit Inventory