
Labor Codes are used to reduce the amount of time it takes to write-up an RO for work on jobs that occur on a regular basis, in which labor and parts are always the same; example: oil changes, tire rotations, inspections, winterizing, etc.
There are three parts to complete the entire set-up. The first part is to build a Part Kit to be assigned to a Labor Code. If you do not need parts on a Labor Code, move to Part C.
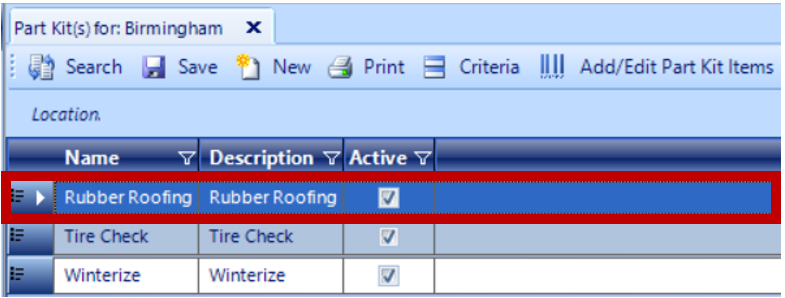
A. Setting Up Part Kits
1. Navigate to System Setup and click Part Kits
2. Click New
 3. Assign your Part Kit Name and Description
4. Select the Active Button
 5. Click Save.

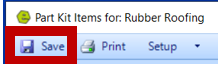
B. Building a Part Kit
1. Highlight the new Part Kit
 2. Click Add / Edit Part Kit Items

3. Scan / Enter each part into your new Part Kit
a. Key Qty, Selling Price, & any discounts
b. Manually adjust prices on parts, if necessary
REMINDER: Key the parts / supplies needed for each Labor Code.
 4. Click Save
C. Associating a Part Kit to a Labor Code
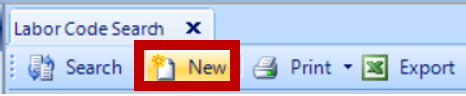
1. Navigate to System Setup and click Labor Codes
 2. Click New
3. Assign a name to the Labor Code
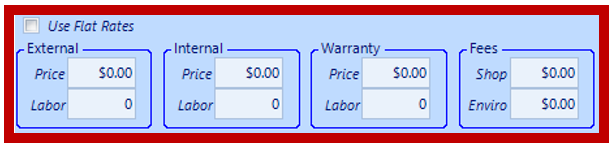
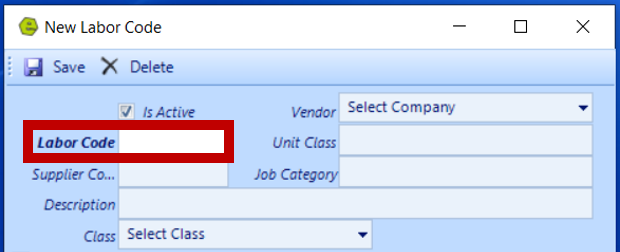 4. Create Rates:
-
- A Flat Rate is a preset rate you charge for a service, regardless of the amount of time it takes to complete the job, add up the total and key in the Price Field.
- An Hourly Labor Rate allows you to set the amount you will charge for service per hour or part of an hour.
- Add the number of Labor Hours.
- Shop Supplies and Environmental Fees are set at a flat rate.
5. Type a detailed description of each Labor Code in the Problem Field
 6. Select a Part Kit from the drop-down menu

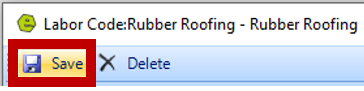
7. Click Save
IMPORTANT: There is a System Rule to consider when using Part Kits, be sure the Rule Answer for UpdatePKPricing is set to your preference.

Related Articles:
System Setup for Alternate Part Numbers
Adding a New Part / New Part Inventory
Adding Parts to Inventory from a Invoice / Repair Order
Creating a Parts Purchase Order
Special Order Parts from an Invoice
Special Order Parts from a Repair Order
Receiving a Purchase Order and Creating a Back Order PO
Create / Close a Parts Invoice
Asterisk Showing on Parts Search
Parts Price Comparison Feature (Profit Margin Formula)
Moving Parts / Contents of a Bin