Images can be added to a Repair Order and can be viewed on both open and closed Repair Orders.
Adding Images on Repair Orders
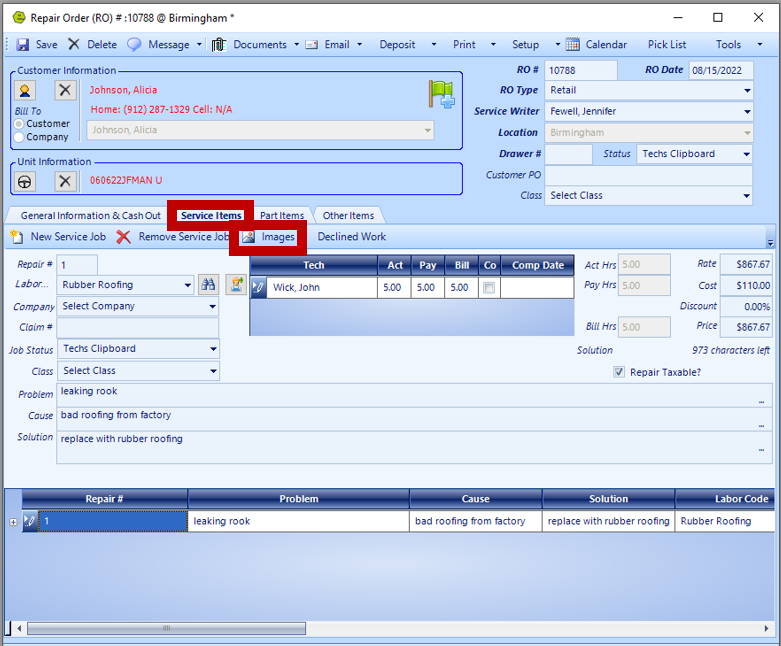
1. Access the Service Items Tab on the Repair Order
2. Key a Service Job
3. Click the Images Button (The Images button will be enabled, once a job selected.)
4. Click the Add Button

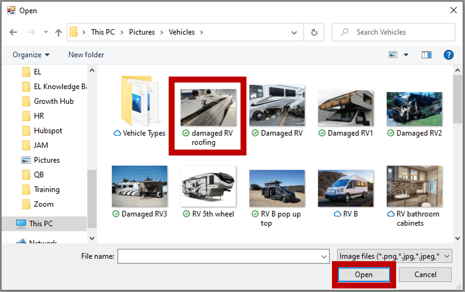
5. Locate & select the desired picture(s)
6. Click the Open Button or hit the Enter Key
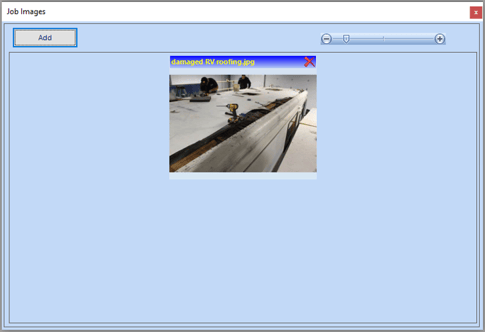
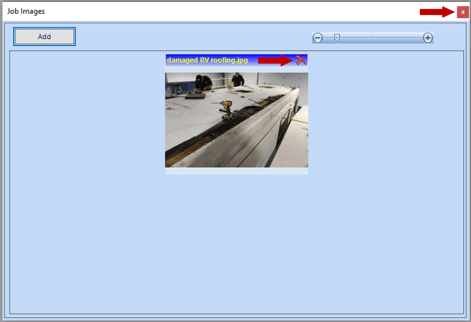
NOTE: The image(s) will now show in the Job Images Window, click the close button. There is no photo limit or size requirement. If necessary, click the Red X to remove an image.
Viewing Images on Repair Orders
NOTE: Images are added at the job line level and must be viewed at the job line level. This is true whether the job is open or closed.
1. Access the Service Items Tab on the Repair Order
2. Open a Service Job Line
3. Click the Images Button